
 Sign In

 Shop
Shop

 Academy
How to Fix Samsung S10 Touch Screen Not Working | REWA Academy Tips
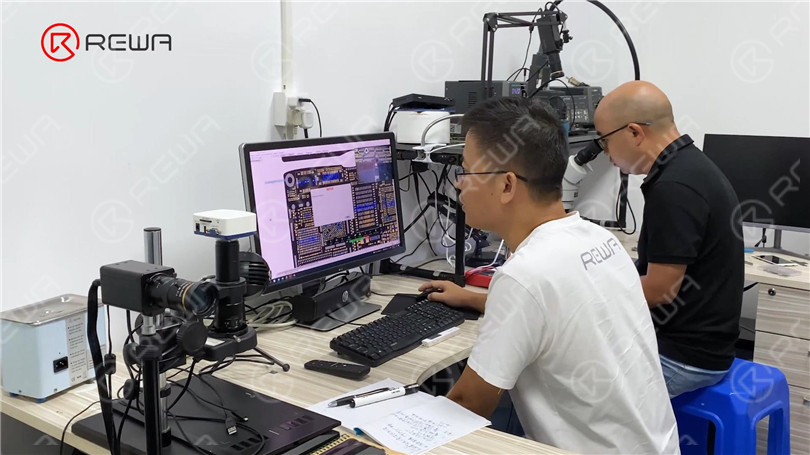
REWA Academy recently launched online Android Phone Motherboard Repair Courses. You can learn the workflow and troubleshooting process for different Android phone motherboards like Samsung, Huawei, Xiaomi, etc.. The workflow and troubleshooting process learned can be effectively applied to solve problems in real repair circumstances. Today we will make use of Android course content from REWA Academy to deal with a real repair case of Samsung S10.
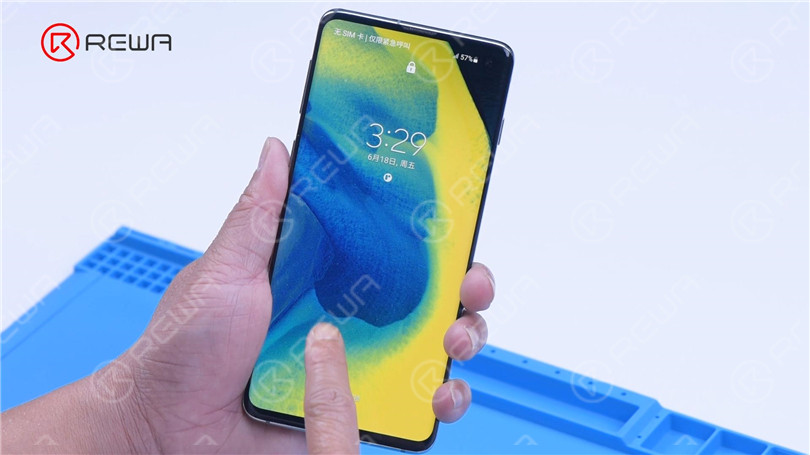
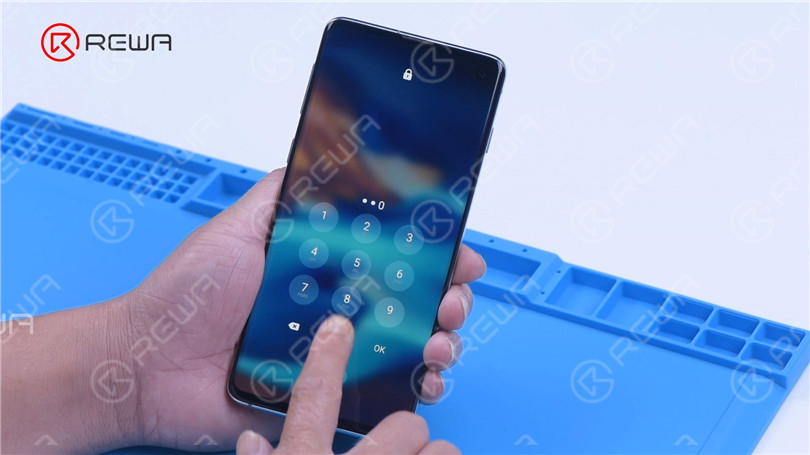
Turn on the Samsung S10 and the touch is not working. Since the touch is still not working after screen replacement, we can preliminarily judge that the problem is caused by a motherboard fault.
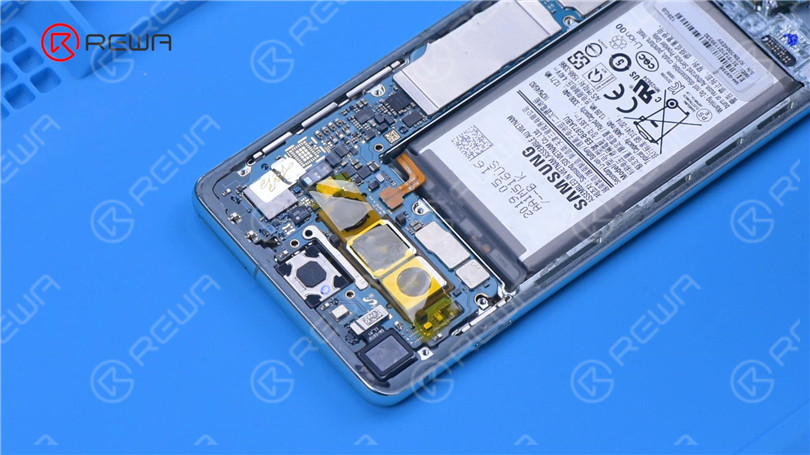
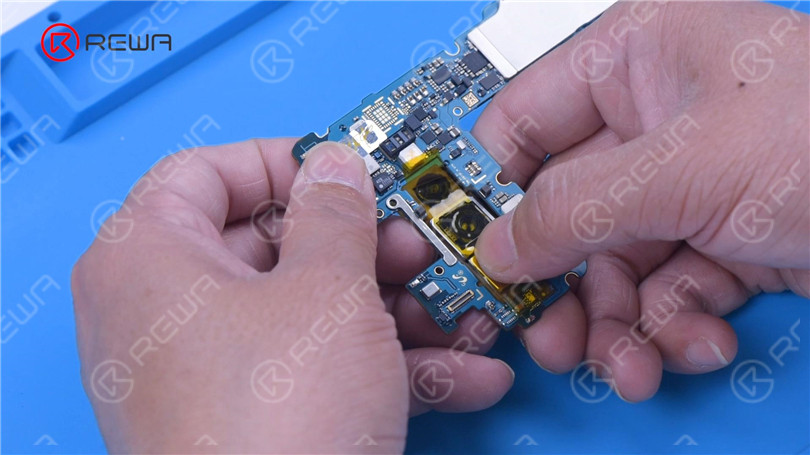
Next, we need to take the motherboard out for further testing. Detach the back cover. Remove the screws and the cover that holds the motherboard. To prevent damage to the camera during repair, apply high-temperature tape to the camera. Disconnect the battery flex cable. Remove the front camera. Disconnect the display flex cable. Remove the motherboard. Then yank the rear camera module out.
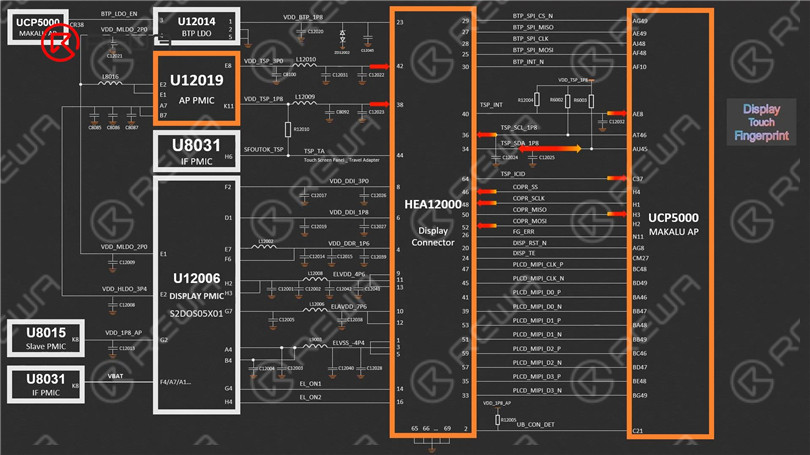
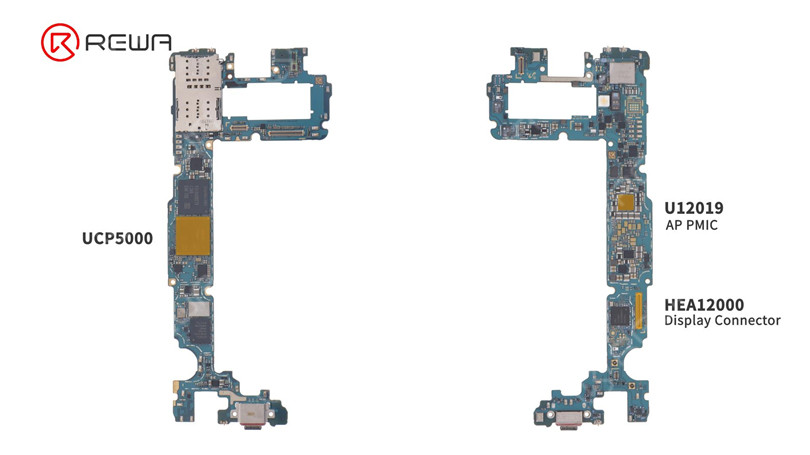
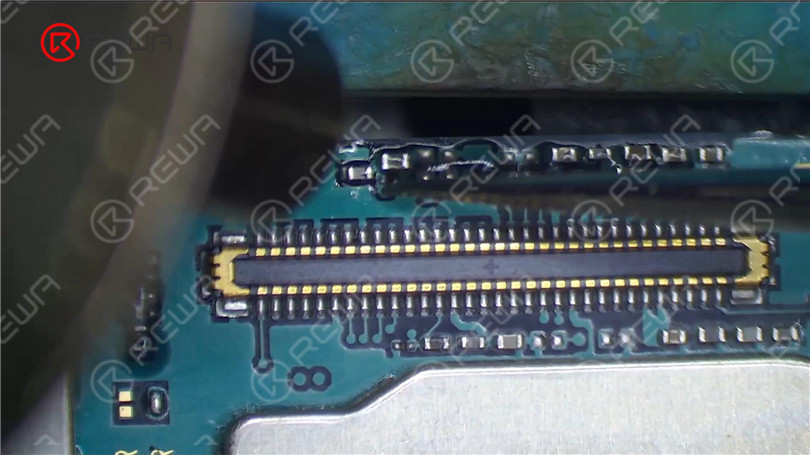
If you are not sure how to fix the problem, we check touch-related components of Samsung S10 and its workflow before repair. Through content from REWA Academy, touch-related components of Samsung S10 include HEA12000, U12019, and UCP5000. HEA12000 is the display and touch connector that connects the screen. U12019 supplies touch with 3.3 V and 1.8 V voltages, while UCP5000 is responsible for communication between the screen and touch.
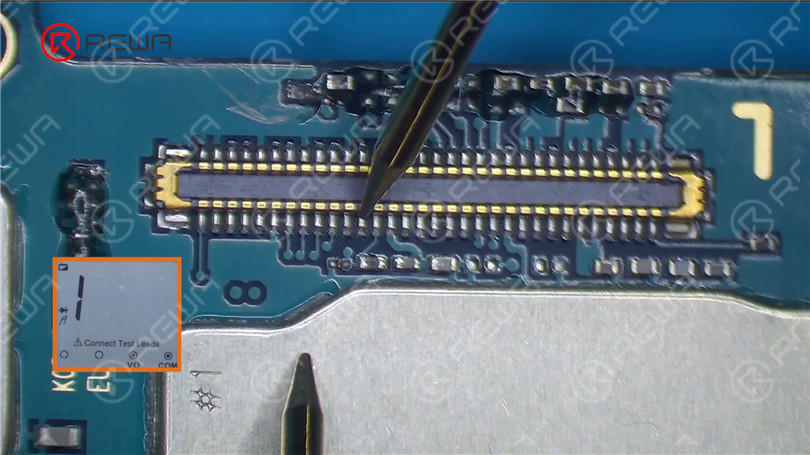
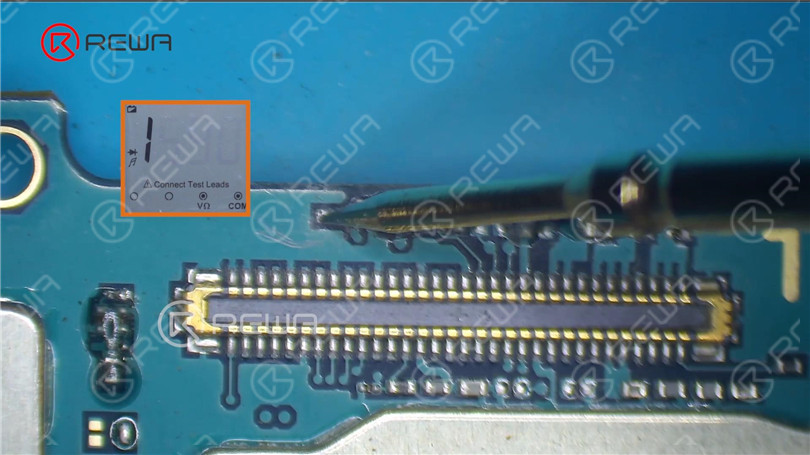
Next, we measure the diode value of HEA12000. When measuring pin 42, the diode value is found to be 1 (infinite). The normal value should be around 600.
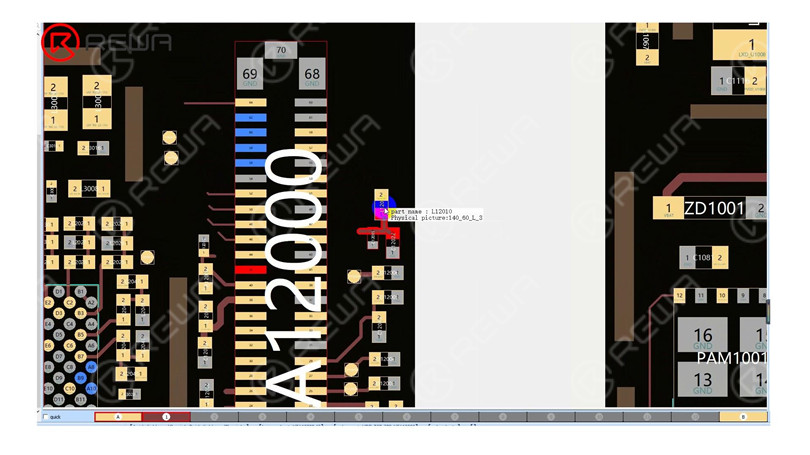
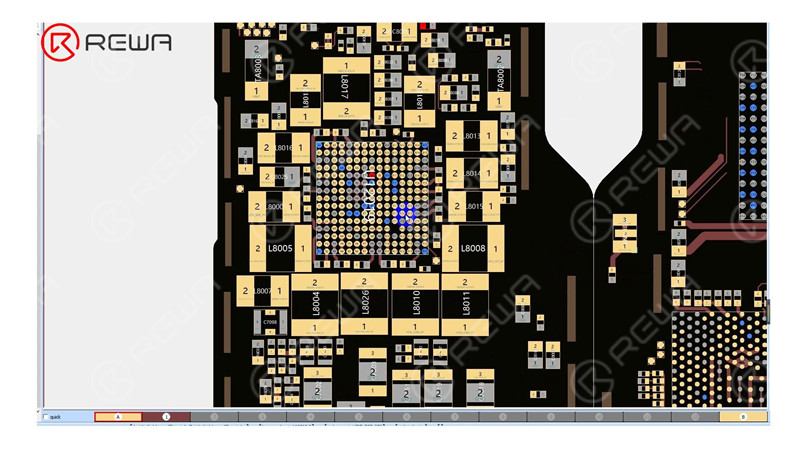
Open the bitmap. It can be seen that pin 42 is connected to C12022 and L12010. Then it is connected to U12019.
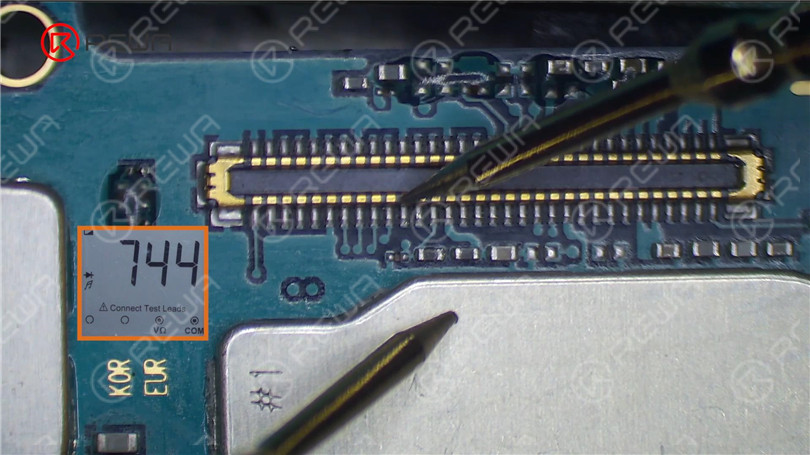
After measurement by the multimeter, the diode value is found to be 1 (infinite). L12010 may be damaged or related circuits are open. Then we remove corner adhesive with Hot Air Gun at 250 °C and airflow 3. We can see that the inductor is completely damaged.

Keep measuring the diode value of the inductor. The diode value of one end is normal while the value of the other end is 1 (infinite). It can be judged that the inductor is faulty.
To determine whether the output voltage of the power IC is normal, then we connect the battery. Turn on the phone by plugging in the USB cable. Measure one end of the inductor. The voltage was found to be about 3.3 V instantly.
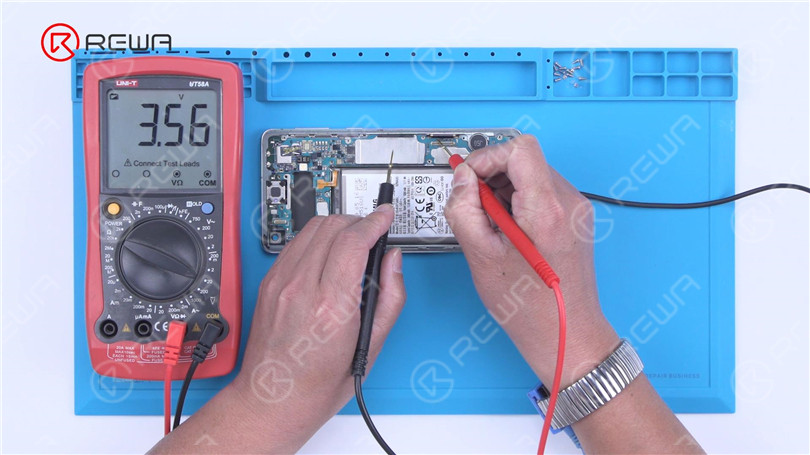
Then measure the 1.8 V power supply of pin 38 to see if it is normal. The startup voltage jumps to 1.5 V instantaneously. It indicates the two output voltages of U12019 are working fine. We can confirm now that the open-circuited inductor has resulted in the touch not working.

Then we replace it with a new inductor. Apply some Paste Flux to the bonding pads. Clean the bonding pads with Soldering Iron at 380 °C. Keep cleaning the bonding pads with PCB Cleaner.
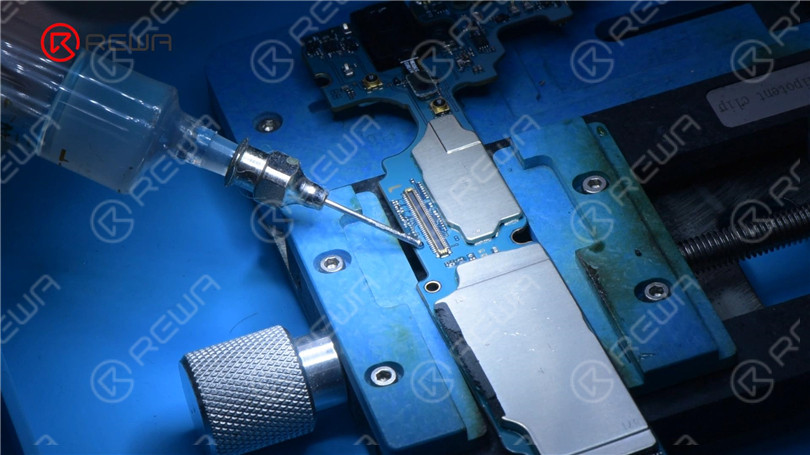
Solder a new inductor with Hot Air Gun at 330 °C and airflow 3. Clean the bonding pads with PCB Cleaner after soldering. Measure the diode values of the inductor and capacitor. The diode values are normal. Then measure the diode value of the connector. The diode value is also normal.
Then we assemble the phone for testing. The touch function returns to normal.
REWA Academy will keep on updating new courses for different android phone models. All newly added lessons in this course will be free during the subscription period. Welcome to join REWA Academy to learn phone repair knowledge and skills.


No Comments
4
0
Share
Apr 23, 2021
ABOUT REWA
REWA is a world leading electronics repair business solutions provider who was founded in 2008 in HongKong. We are committed to delivering one-stop services covering Sourcing Solution, Technical Support Solution as well as Recycle & Resell Solution.


