
 Sign In

 Shop
Shop

 Academy
Installation Tips for Android Screen Assembly
There are so many different models for Android screen assembly, which might drive you crazy when installing them.
REWA LAB has summarized some common installation tips for Android screen assembly.
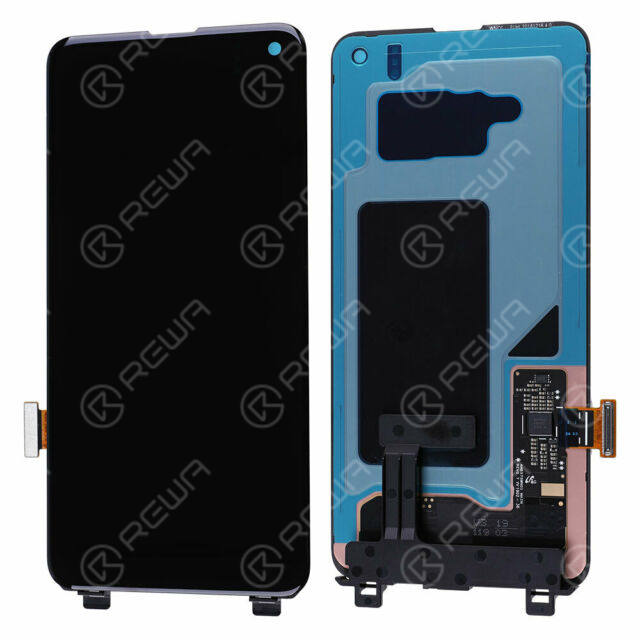
In this article, we take HUAWEI P40 for example. Make sure to clean all residual glue before installing screen assembly to avoid screen damage.
1. In the first place, check if the screen fits the bezel.
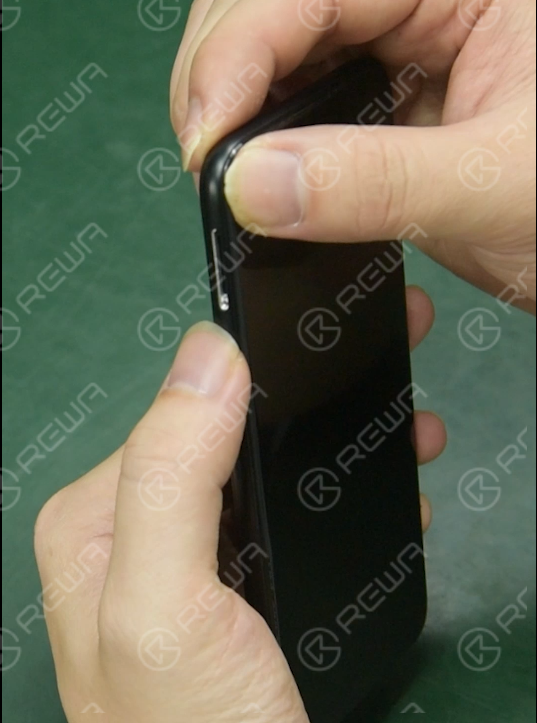
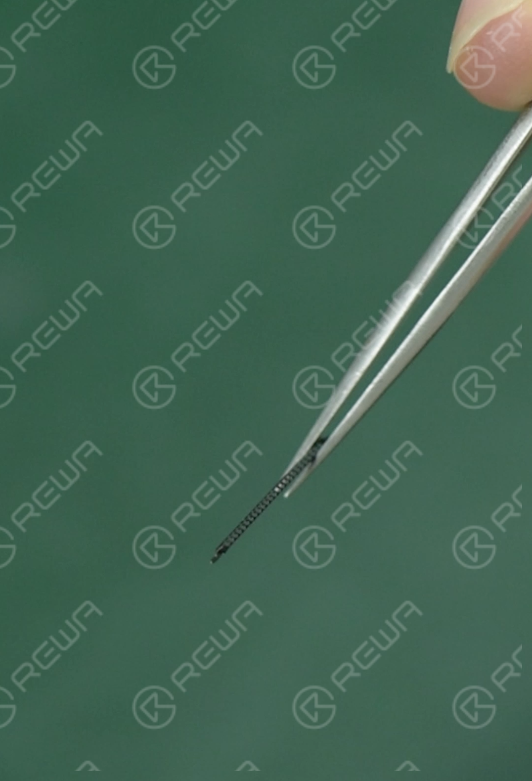
2. Install the anti-dust receiver mesh.
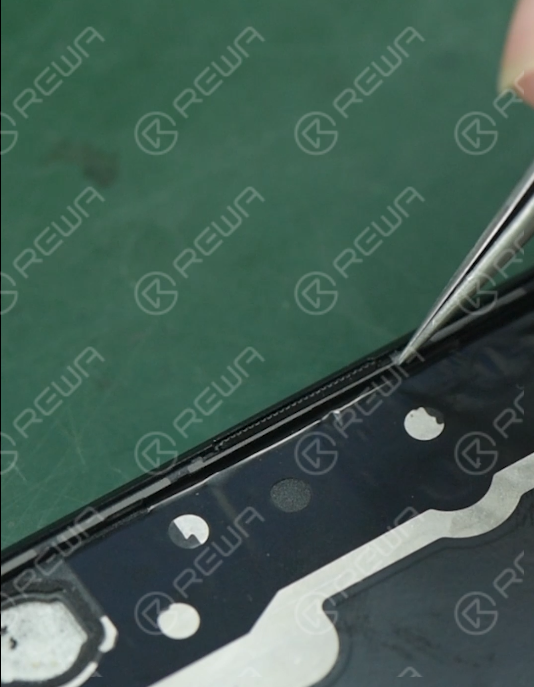
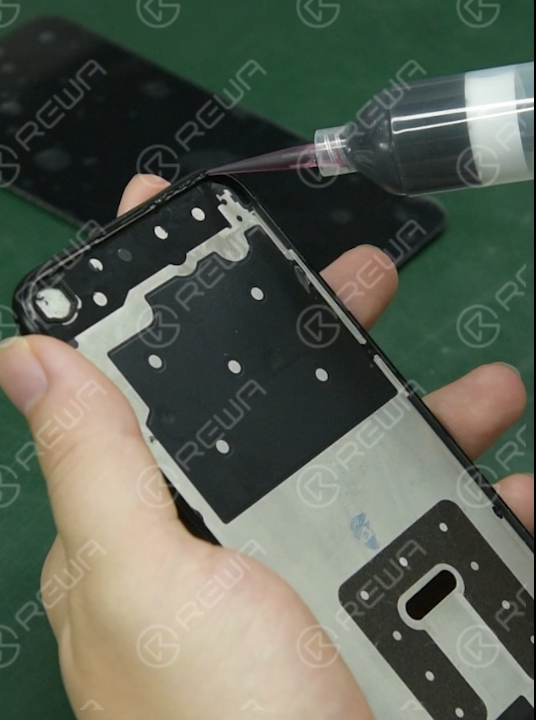
3. Apply the adhesive. Always choose suitable adhesive (OEM adhesive) and do not use too much adhesive to avoid display & touch issues.
4. Install the screen assembly. Be careful to laminate the screen to protect display IC parts and glass bezel.
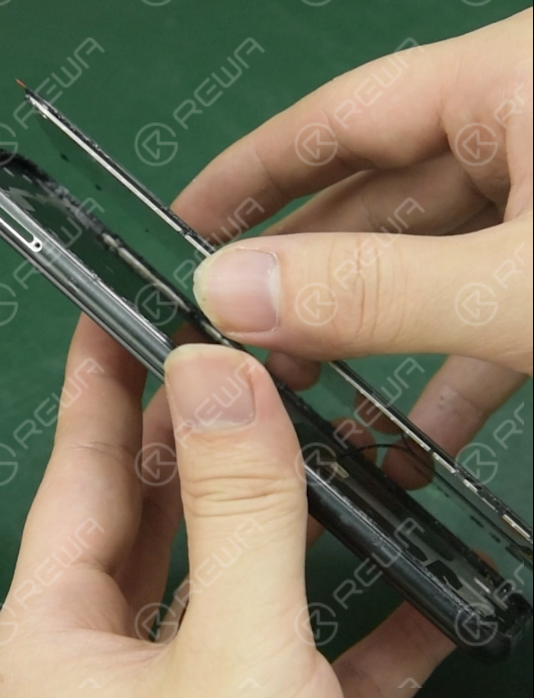
5. Connect the end with no flex cables and then connect the bottom end. Gently press around. Leave screen for at least 1 min after finishing glue dispensing until the glue is solidified.
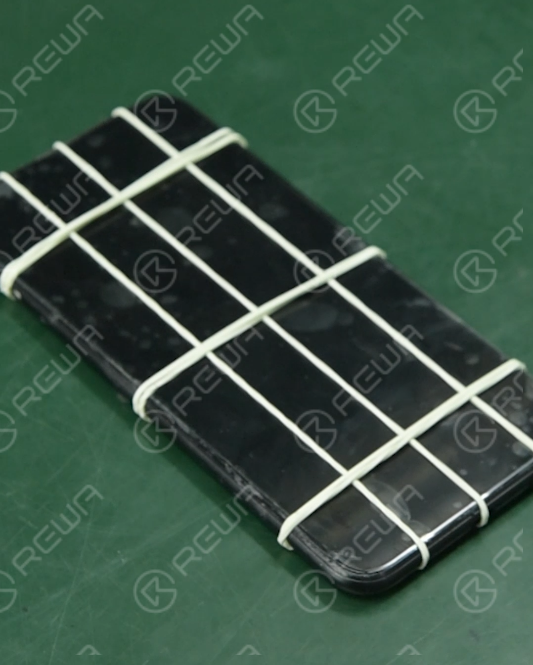
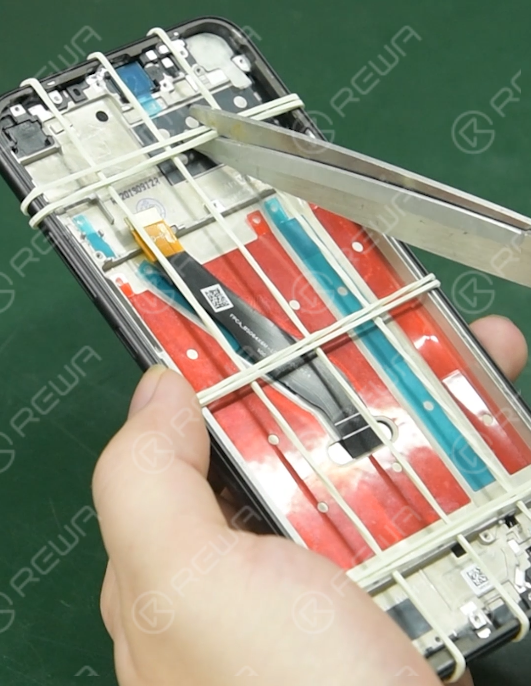
6. Fix the screen with a rubber band. Cut the rubber band with a pair of scissors.
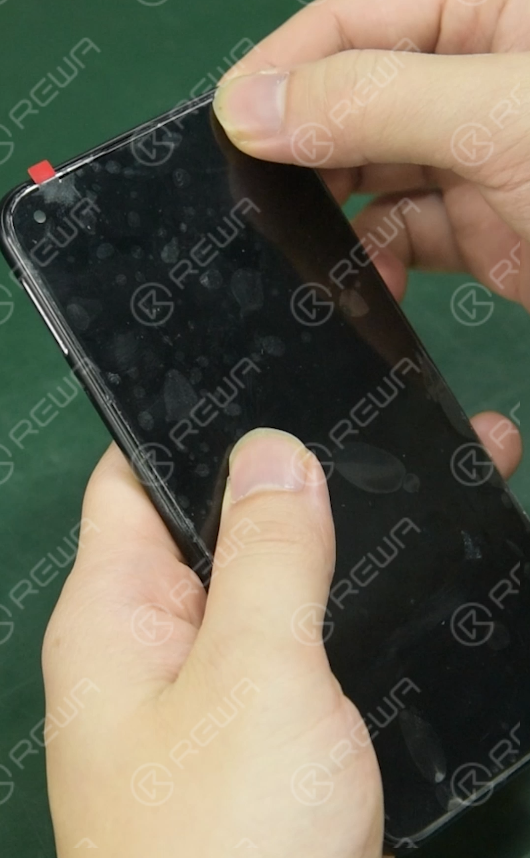
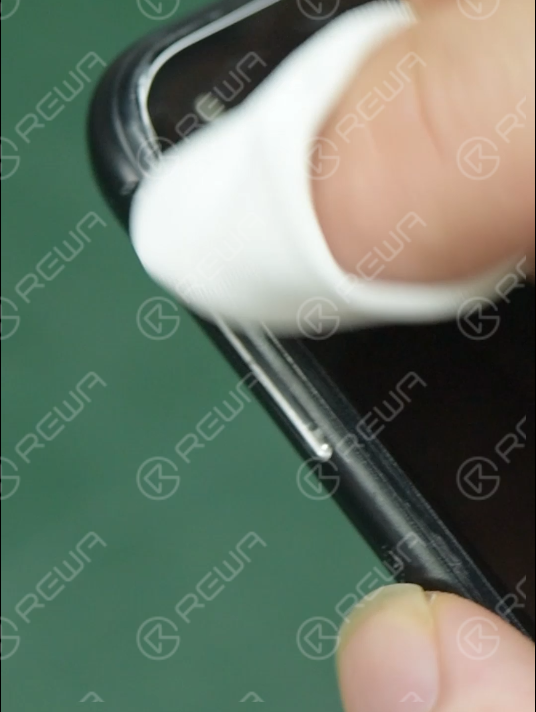
7. Remove excess adhesive on the edges. Check if the screen assembly is correctly installed. Make sure to remove the protective film before installing screen assembly to ensure graphite heat dissipation parts work normally.
For a video version of the operation, please visit our YouTube channel.


No Comments
2
0
Share
Apr 23, 2021
ABOUT REWA
REWA is a world leading electronics repair business solutions provider who was founded in 2008 in HongKong. We are committed to delivering one-stop services covering Sourcing Solution, Technical Support Solution as well as Recycle & Resell Solution.


