
 Sign In

 Shop
Shop

 Academy
iPhone 12 Lineup OLED Screen Refurbishing Solution By REWA
The repair rate of the screen is one of the highest among many mobile phone parts. Professional screen refurbishment tools and techniques can not only reduce screen replacement failure rate but also improve repair efficiency. It is well known that the iPhone 12 lineup features an OLED screen. Today REWA LAB will take the iPhone 12 screen refurbishment as an example to introduce the up-to-date screen refurbishment techniques and machines in the industry.
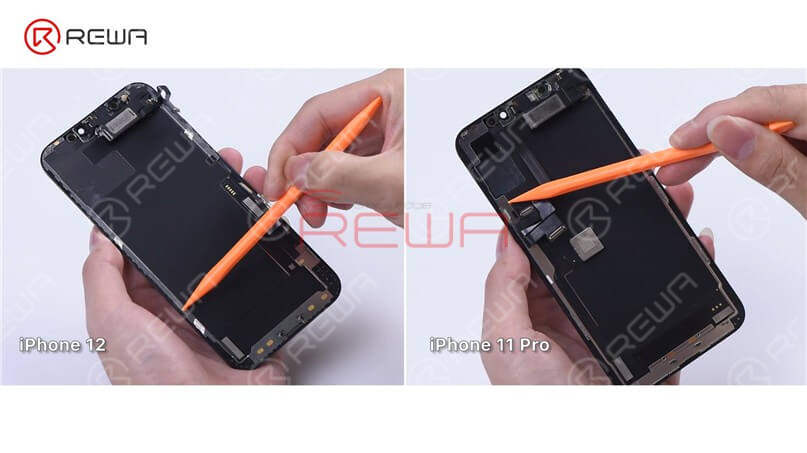
Firstly, let's run a cosmetic inspection of the screen. We can see that the iPhone 12 has a narrower bezel than the iPhone 11 Pro, so the iPhone 12 bezel may be a little easier to disassemble. In addition to that, the iPhone 12 bezel doesn’t wrap around the glass lens anymore. Therefore, the material requirements for the bezel adhesive will be relatively high to prevent the adhesive from falling off. To dig deeper, we will refurbish the iPhone 12 screen.

Step 1: Screen Testing
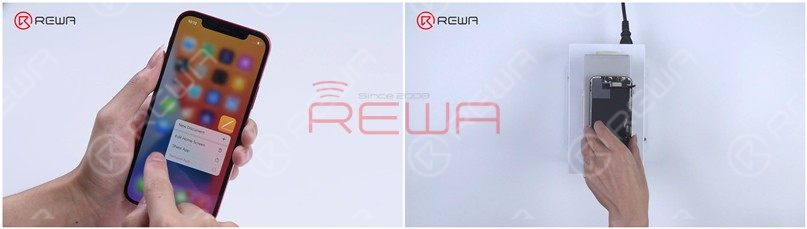
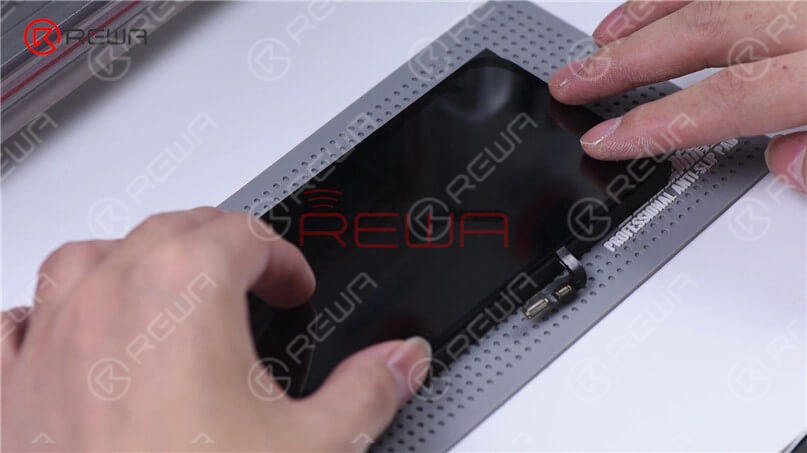
First of all, let’s test the screen. The display, touch, and 3D Touch all function well. Place the screen upside down on the Screen Separator, set the temperature to 100 ℃, and start the suction.

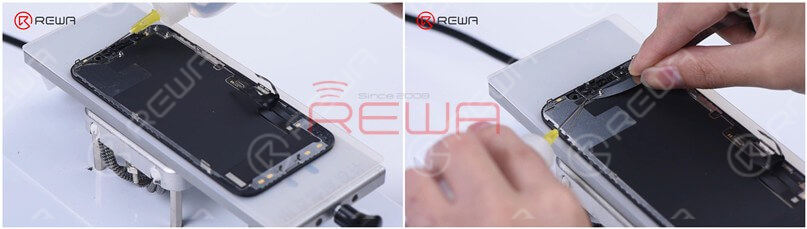
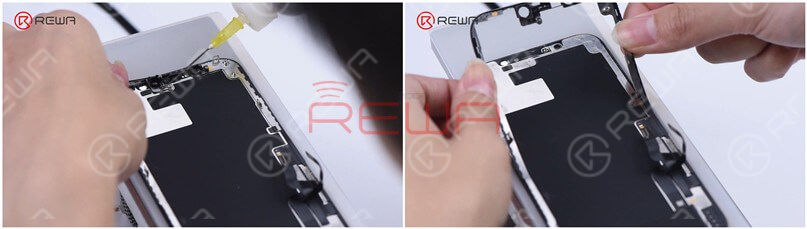
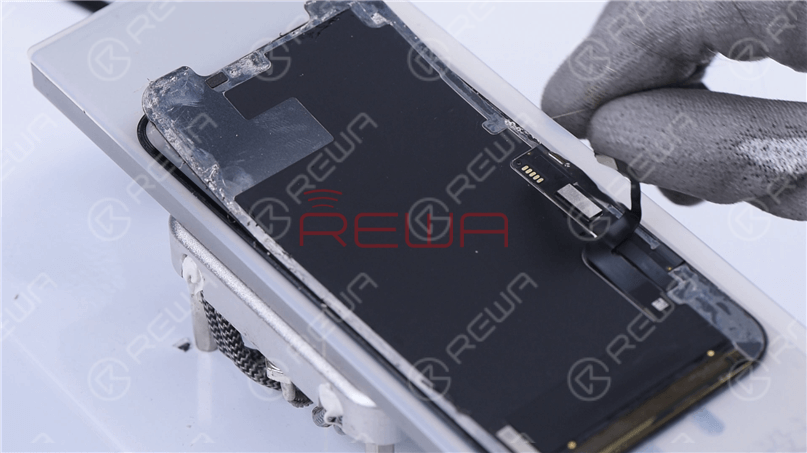
Remove the ear speaker flex cable first. Since the ear speaker flex cable is very easy to damage, please be noted that we need to heat the screen before removing it. Besides, the iPhone 12 ear speaker sensor ring is integrated into the bezel.
Step 2: Bezel Removing
Now, let’s remove the bezel. Dip adhesive remover on the bezel first. While using the Razor Blade to separate the bezel, you need to dip some adhesive remover too. Slide the Razor Blade back and forth, and pry up the bezel carefully.

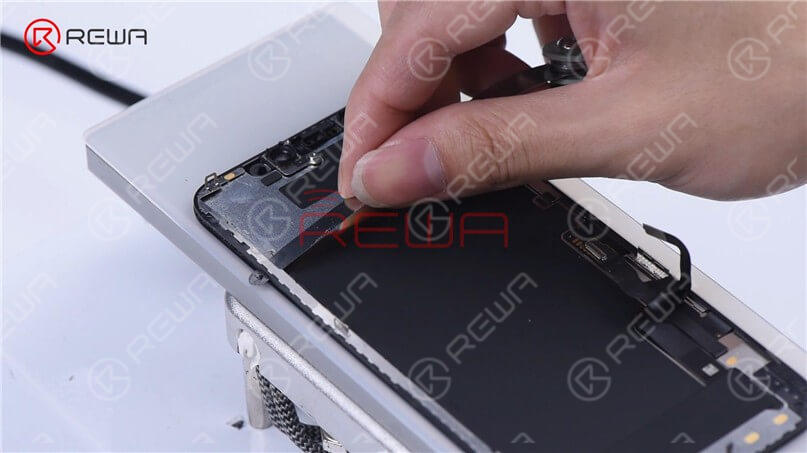
As the ear speaker flex cable part has more adhesive, we can dip more adhesive remover to make it loose. Hold the two corners of the bezel in both hands, and detach the bezel slowly with caution. Our original thought was to separate the bezel in a complete manner and then reuse it. But now the bezel is broken here. So please notice that this part of the bezel is made of plastic material, which is extremely easy to break. If you want to separate the bezel completely, you need to pay extra attention.
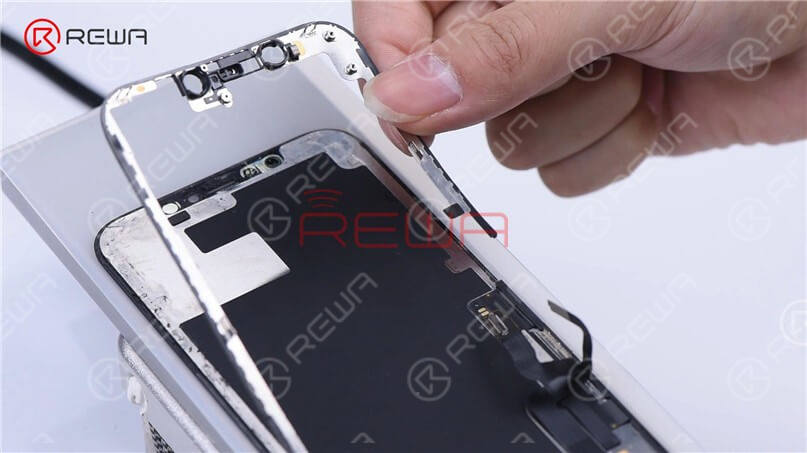
In order not to induce damage, we use a thin film to remove the flex cable part. Remove the bezel, and it can be seen that the 3M adhesive used in the bezel flex cable part is no longer the cold adhesive. The 3M adhesive makes the bezel relatively easy to remove.
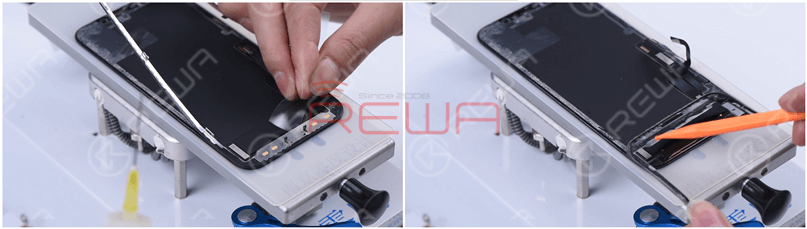
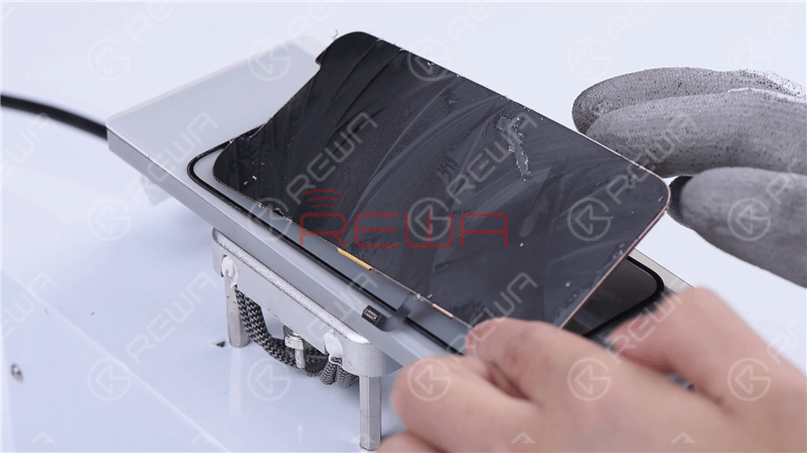
Step 3: Glass Lens Separating
Remove excess adhesive on the ear speaker flex cable part.
Start separating the OLED along the bottom layer of the glass lens with Cutting Wire.
Through our observation, we found that the touch panel of the iPhone 12 screen is better than that of the iPhone 11 Pro, which is not easy to damage. To put it specifically, the touch panel of the iPhone 12 is thicker, and the cut lines are clearer and wider.
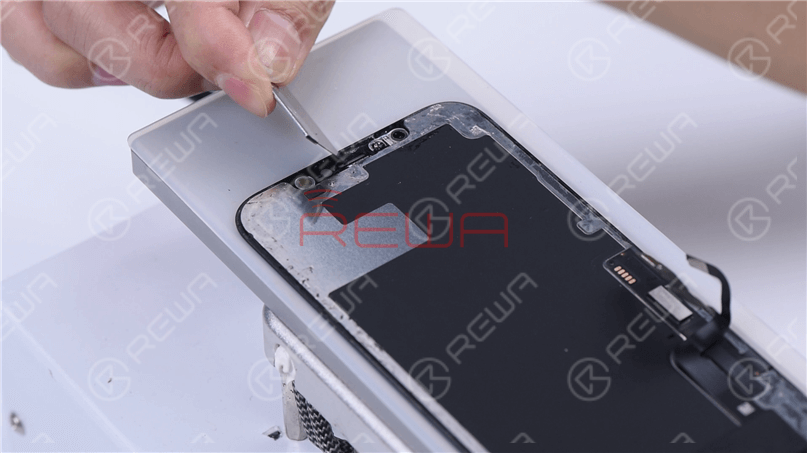
Step 4: OCA Adhesive Removing
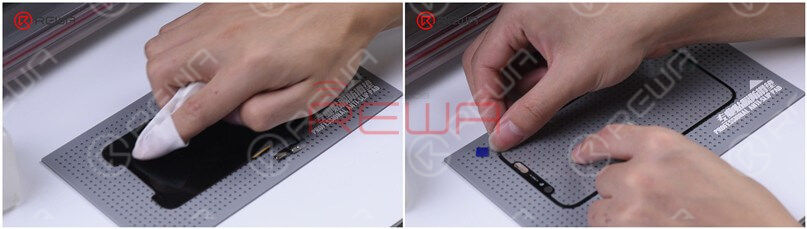
Place the OLED on the heating platform.
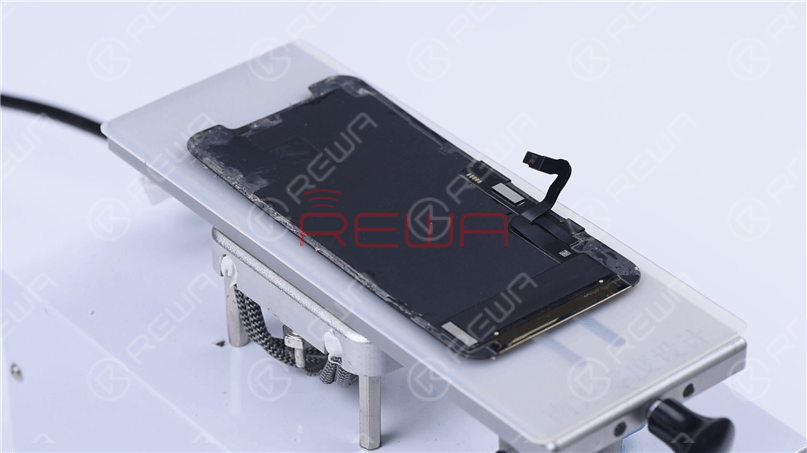
Roll up the OCA adhesive with the Electric Adhesive Removing Tool and remove the remaining OCA adhesive with a hand.

Connect the OLED and ear speaker flex cable. The display and touch function works well. A point worth mentioning is that not connecting the ear speaker flex cable will lead to the absence of light-sensing. The screen will be too dark to be tested.


Step 5: Laminating
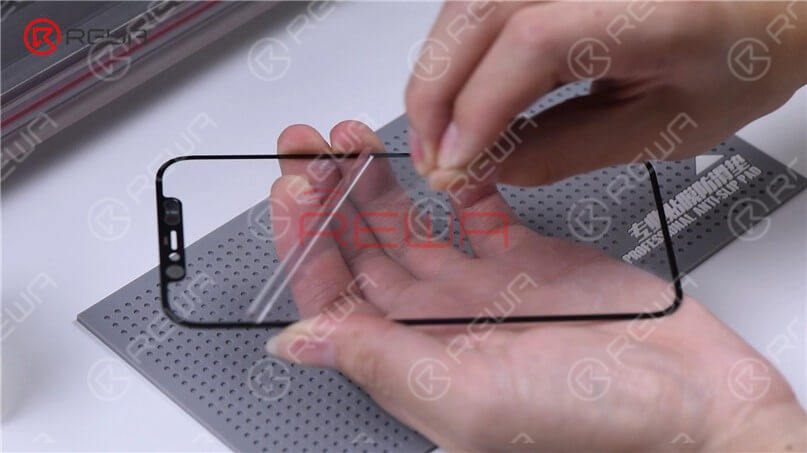
Attach the OCA adhesive to the glass lens.
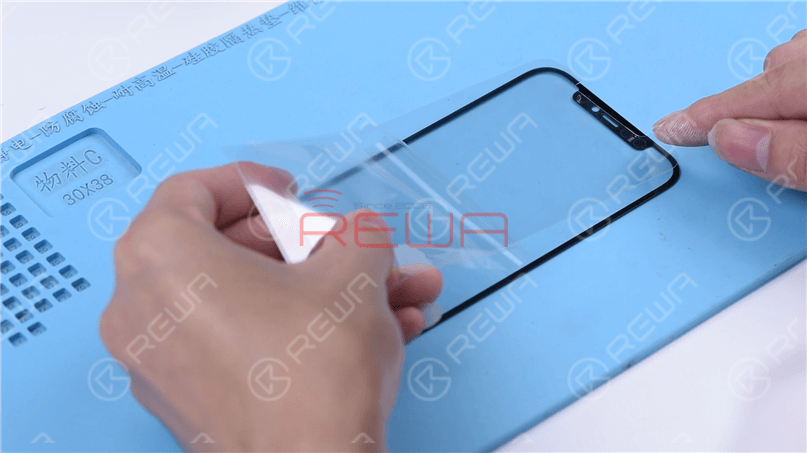
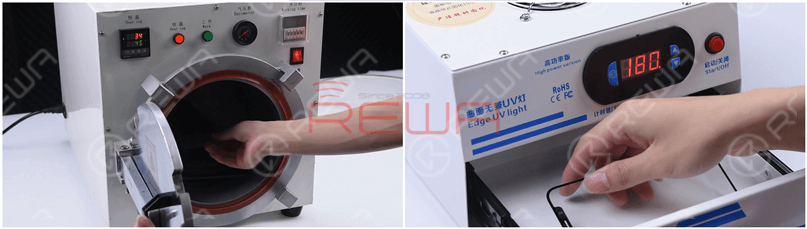
Put the glass lens with OCA adhesive into the Bubble Removing Machine for 3 minutes. Then put it into the UV Lamp for Curing OCA Glue for 5 seconds.
Wipe clean the OLED, and use pull tape to stick a corner of the glass lens. Press the pull tape for seconds, and then tear off the protective film of the OCA adhesive.
Since the iPhone 12 aligning mold has not come out yet, we use manual alignment. After alignment, place the screen on the laminating sponge. Please notice that two slots are cut on the sponge in order to prevent OLED damage.
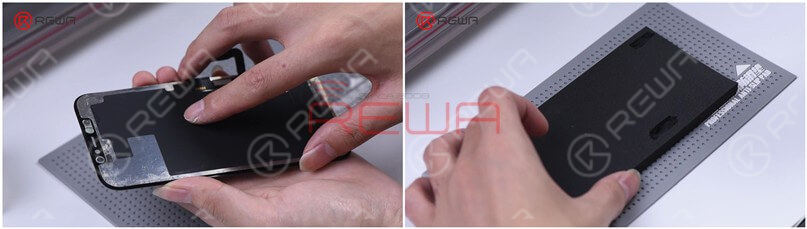
Put the screen into the laminating machine, and press “LCD laminate start”. Take out the screen and we can see there are bubbles on the screen.
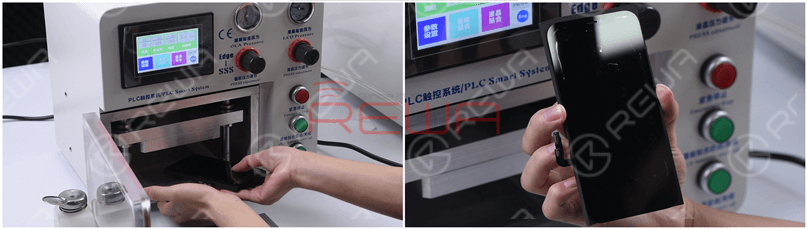
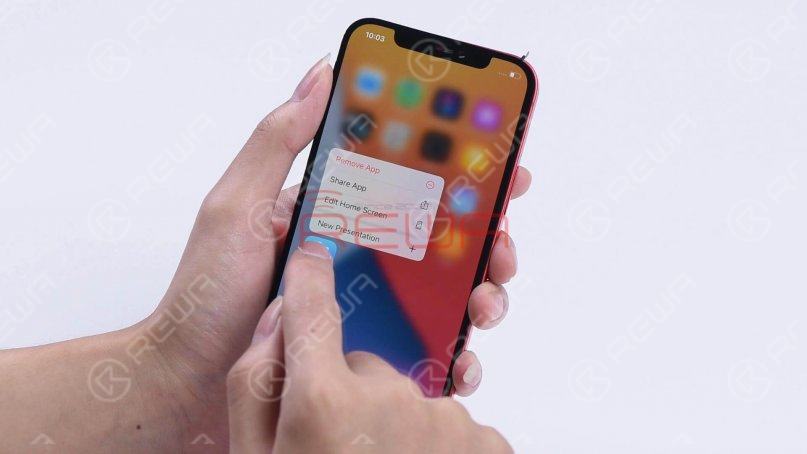
Put the screen back into the Bubble Removing Machine for 10 minutes, and then put the screen into the UV Lamp for Curing OCA Glue for 180 seconds. Assemble the refurbished screen on the phone, and all functions work well.

Visit our online shop for repair parts and tools.Be sure to follow our YouTube channel, so you will get the newest repair information.For more detailed refurbishment techniques of the iPhone 12, please watch the video below!
3
0


No Comments
3
0
Share
Apr 23, 2021
ABOUT REWA
REWA is a world leading electronics repair business solutions provider who was founded in 2008 in HongKong. We are committed to delivering one-stop services covering Sourcing Solution, Technical Support Solution as well as Recycle & Resell Solution.


