
 Sign In

 Shop
Shop

 Academy
iPhone 12 Pro Detailed Teardown Tips For Repair Shop Technicians
Apple's new iPhone 12 lineups have been the talk of the town. For repair shop owners, the biggest concern is what to pay attention to during disassembly.Today, REWA LAB is going to share a detailed teardown tutorial of the iPhone 12 Pro. Let's take a look!
Step 1:
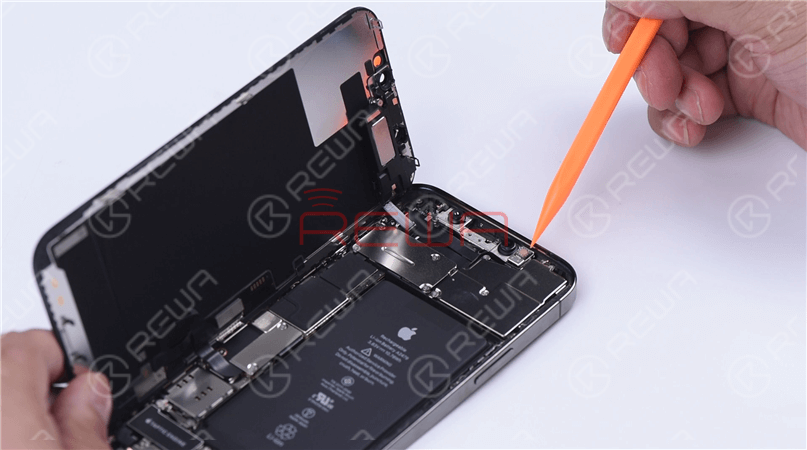
As usual, we unbolt the two pentalobe screws at the bottom edge and take out the card slot. Then, we put the phone on the heating platform to heat it up for one minute.When the time is up, we pull up the small nub on the Suction Cup to lift the screen.

When you see a gap, you need to insert a plastic card and slide it along. Tips: To avoid breaking flex cables, please do not insert the Plastic Card too deep. In addition to that, flex cables on the display are now placed on the left, so we need to open it from the right edge. Lifting the screen, you will see the ear speaker flex becomes shorter which reminds us to be careful when lifting the screen.A trick is to keep the angle between the display and rear housing smaller than 90 degrees.
The Face ID components follow the previous design which makes it especially flimsy. While disassembling, please keep in mind not to touch the dot projector module. Static may cause damage to the module and result in malfunctions.
Step 2:
Remove the ear speaker flex, display flex, and disconnect the battery.
Take a closer look, we can see that the ear speaker flex cable integrates speaker, flood illuminator, ambient light sensor, and microphone.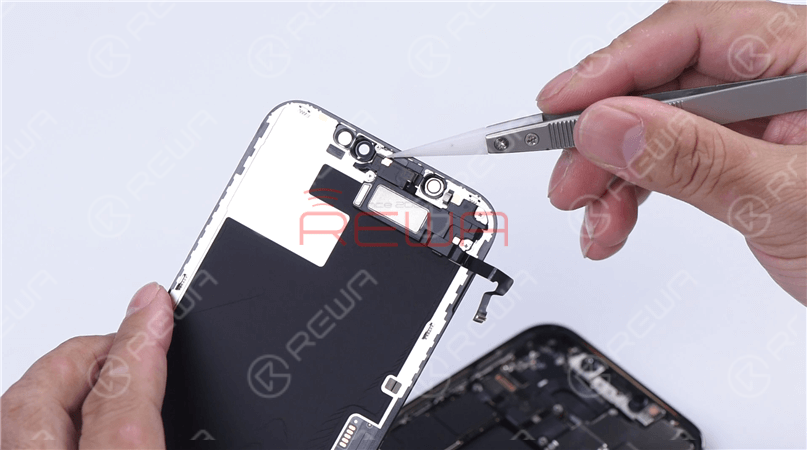
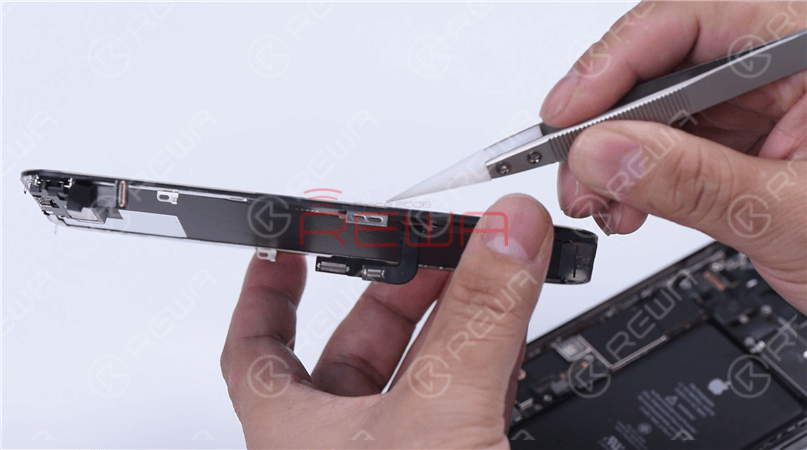
The iPhone 12 Pro’s glass lens and bezel on the display assembly have been changed compared to its predecessors.To put it specifically, the display bezel is placed under the glass lens instead of surrounding it.
Step 3:
Firstly, let’s remove the rear camera and we can see there are only two flex cables for the three cameras.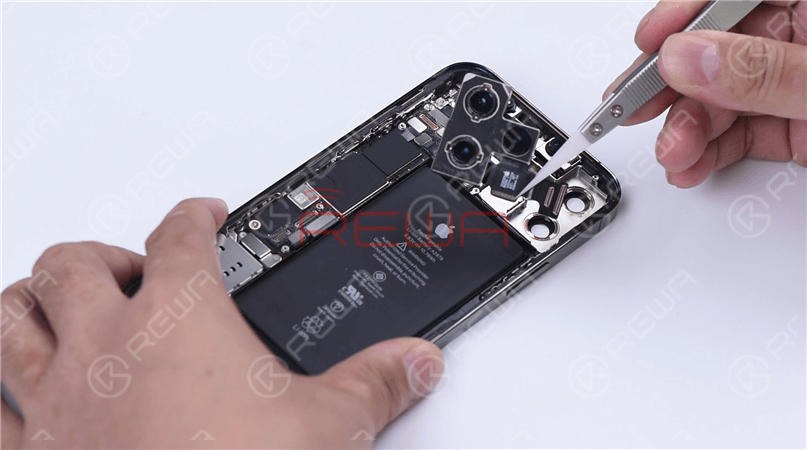
The dot projector flex and flash flex are glued by adhesive. Before removing, you should separate the flex cable first to avoid damage.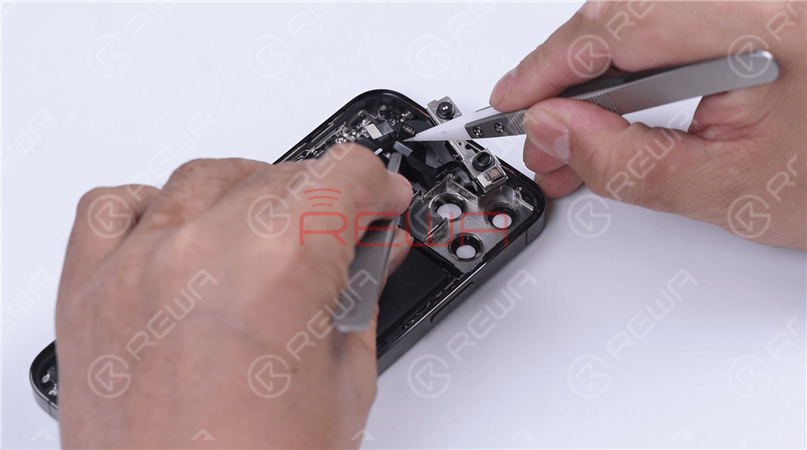
Step 4:
Next, let’s go for the upper antenna flex cable. Pry it up and we can see that this flex integrates a wireless charging coil, power button, volume button, and mute button.For your information, this flex cable is glued by the motherboard sticker. To remove it, we need to tear up the sticker.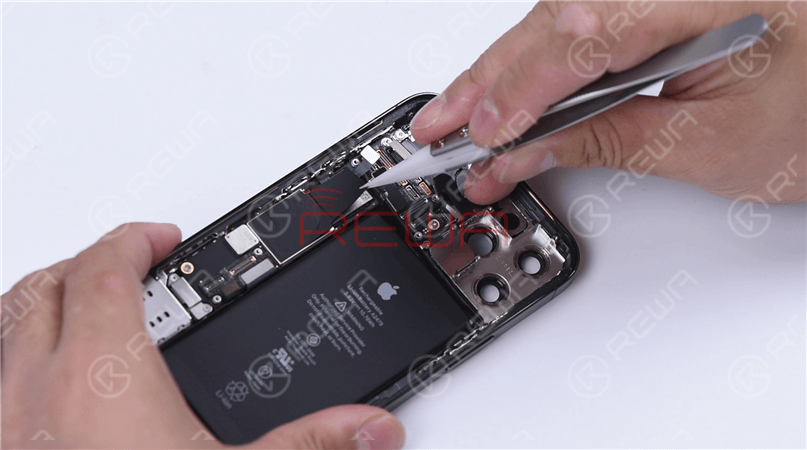
Step 5:
Here comes the lightning connector flex cable. Further, the iPhone 12 Pro's SIM cardholder is a stand-alone design that is connected to the motherboard by a flex cable.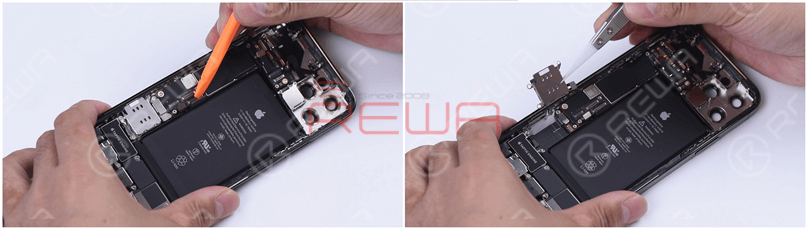
iPhone 12 Pro features a LiDAR Scanner compared to iPhone 12.

Step 6:
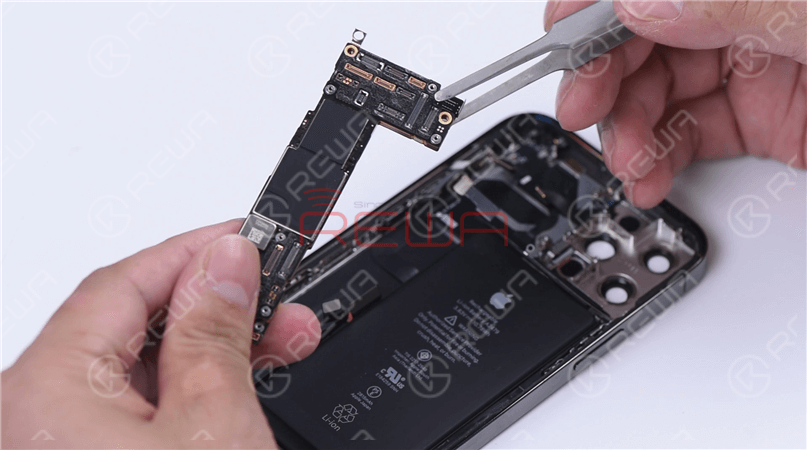
Let’s remove the motherboard. The motherboard is double-stacked but the middle layer utilizes the medium – temperature tin welding instead of low – temperature tin. Undoubtedly, it increases the difficulty for motherboard repair.
Step 7:
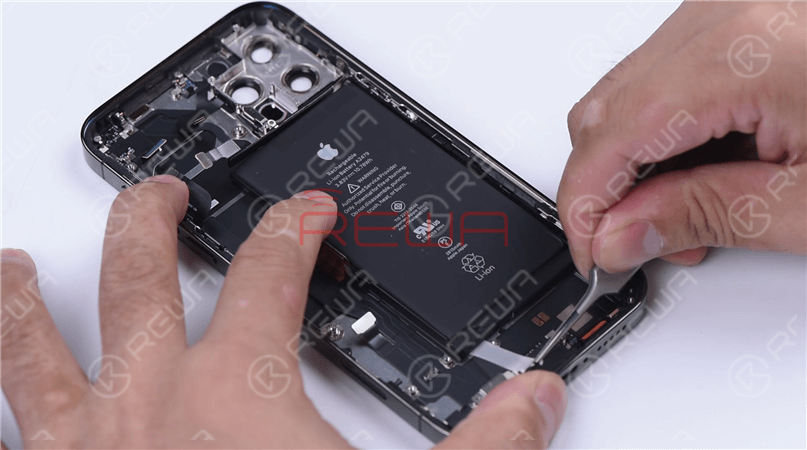
We remove the speaker and the Taptic Engine.
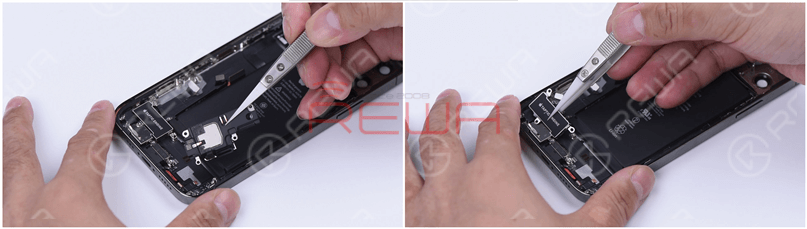
Then we pull the battery adhesive strips and remove the battery.
Under the bracket lies the microphone and sensor.
To protect the battery, a plastic piece is attached to the back edge.
Before removing the lightning connector flex cable, we need to pry up the microphone to avoid damaging the microphone flex cable.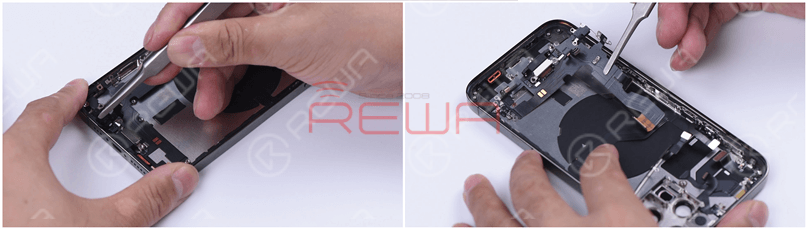
Step 8:
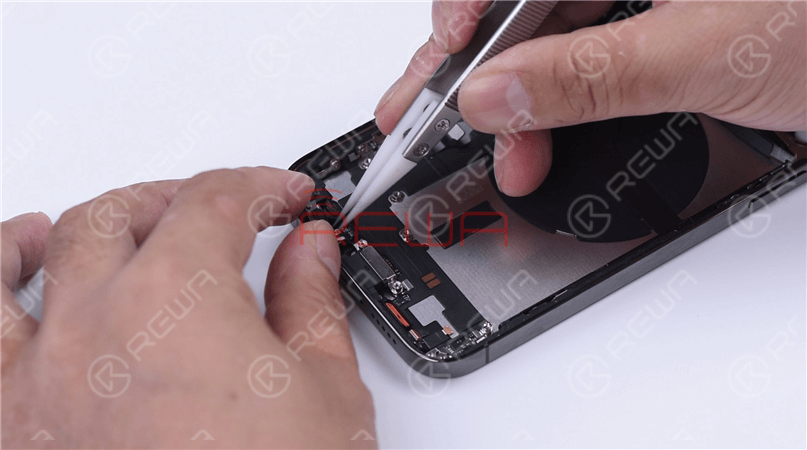
Remove the antenna and pry up the volume flex cable.Tip: Since the volume flex cable is flimsy, please pay extra attention when removing it.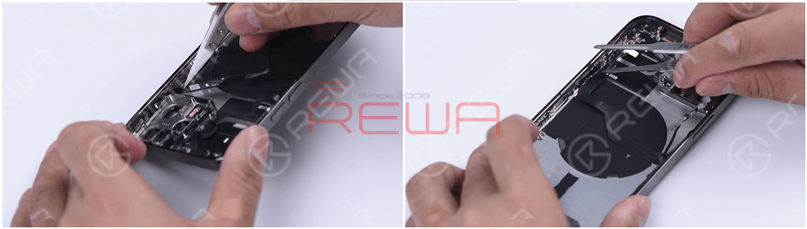
Step 9:
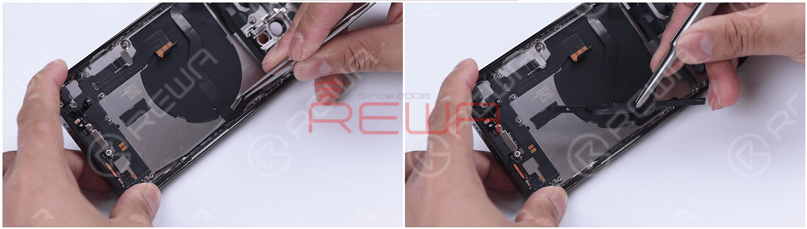
Before removing the wireless charging coil, we need to heat it up with a 150°C Hot Wind Gun.Besides that, we should pay attention to a coil of copper around the wireless charging coil. Further, a coil of magnets is added surrounding the wireless charging coil.

Step 10:
Remove the flash flex cable. Like the dot projector flex, the flash flex cable is glued by adhesive.Before removing, we need to separate the flex cable first to avoid damage. Lastly, let’s remove the upper antenna.

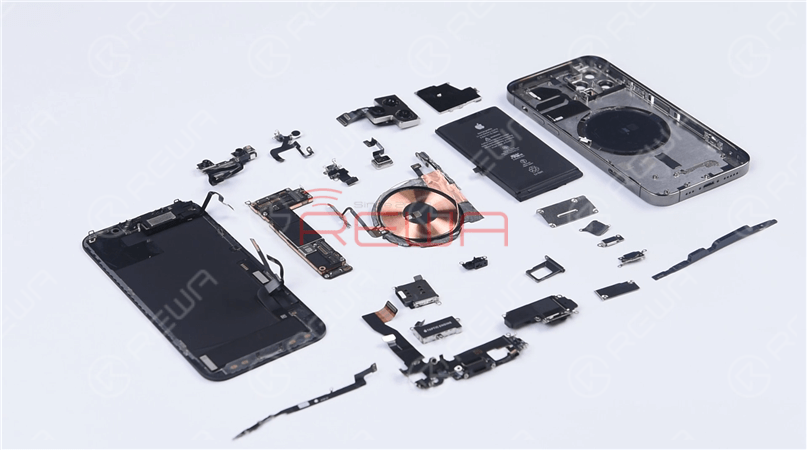
Here is the family photo of the interior parts.
Visit our online shop for repair parts and tools.Be sure to follow our YouTube channel, so you will get the newest repair information. For more detailed teardown techniques of the iPhone 12 Pro, please watch the video below!
1
0


No Comments
1
0
Share
Apr 23, 2021
ABOUT REWA
REWA is a world leading electronics repair business solutions provider who was founded in 2008 in HongKong. We are committed to delivering one-stop services covering Sourcing Solution, Technical Support Solution as well as Recycle & Resell Solution.


