iPad Touch Screen Home Button Assembling Tutorial
So you need iPad touch screen digitizer assembly replacements for your repair work. You search on the internet and find that some of them are not well assembled with home buttons. Yet the home button on the iPad controls the tablet and all of its functionality, missing of which can render your iPad almost useless. Well, how to piece those home button assembly parts together and make it work perfectly with the iPad touch screen digitizer assembly?REWA offers detailed step-by-step guides to assist you with the home button assembling process and get it working as you need. (such as iPhone won't turn on after screen replacement, iPhone 7 touch screen not working, iPhone 7 home button not working)
Note: four iPad series are applied to this home button assembling guide - iPad 2, iPad 3, iPad 4, iPad 5 and iPad mini.iPad 2
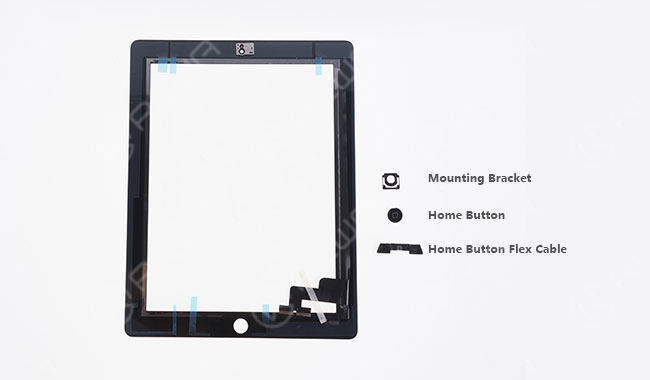
Parts contained: Home Button; Mounting Bracket; Home Button Flex Cable
iPad 3
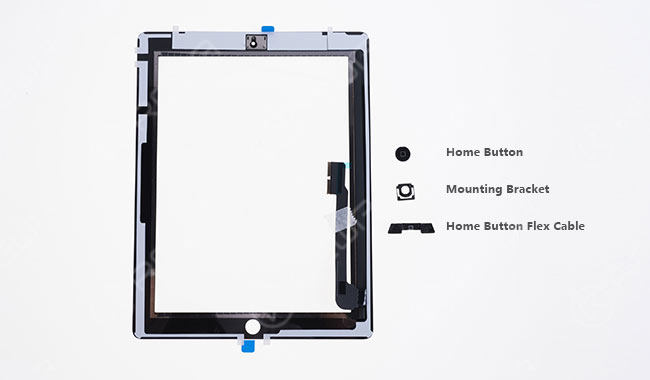
Parts contained: Home Button; Mounting Bracket; Home Button Flex Cable
iPad 4
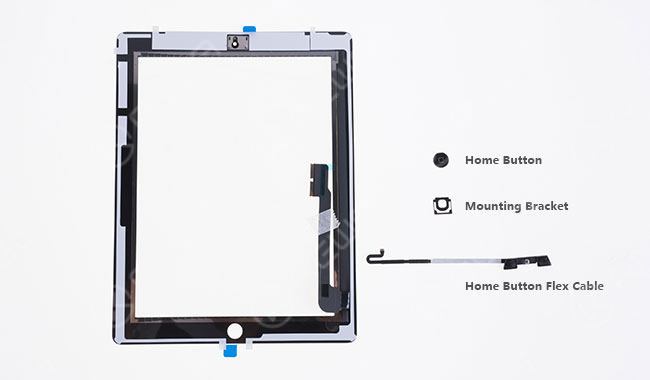
Parts contained: Home Button; Mounting Bracket; Home Button Flex Cable
The three of them have the same steps as below (take iPad 3 as an example).
Step 1 Seat the home button with the mounting bracket.
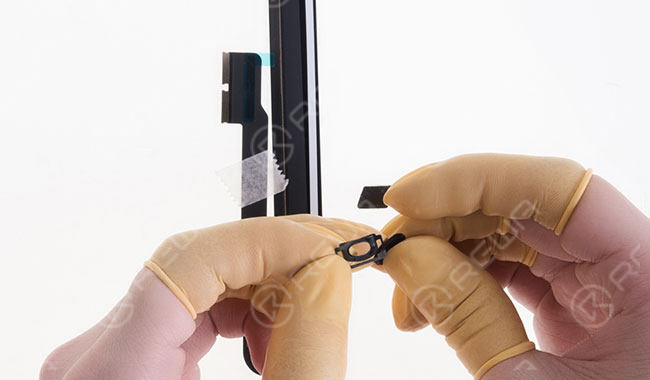
Step 2 Align them to the home button hole of the iPad touch screen digitizer assembly.
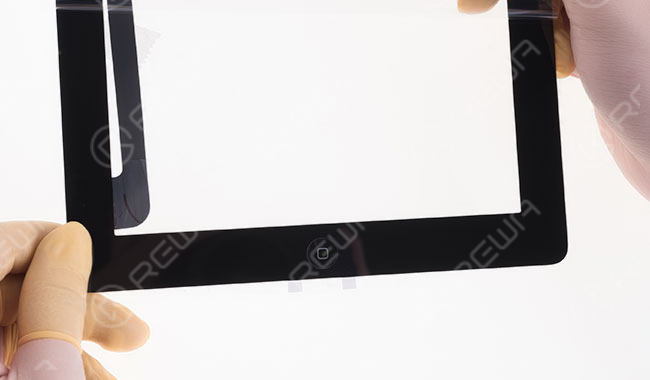
Step 3 Align the home button flex cable.
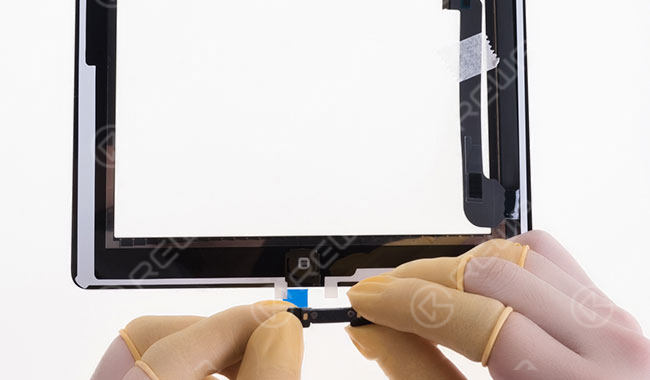
Step 4 Once finished, check the assembling effect.
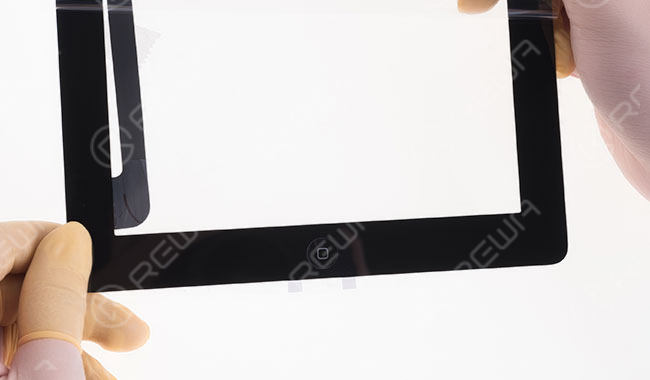
iPad 5
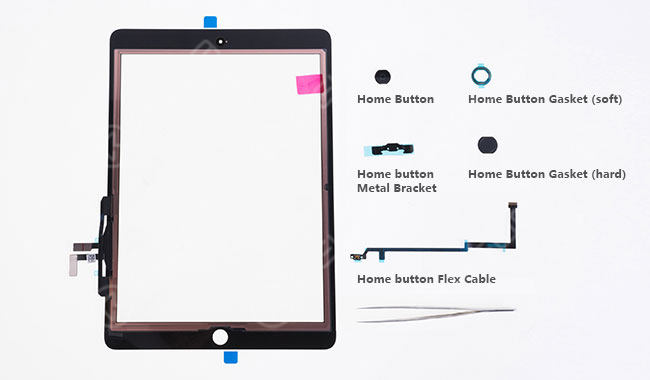
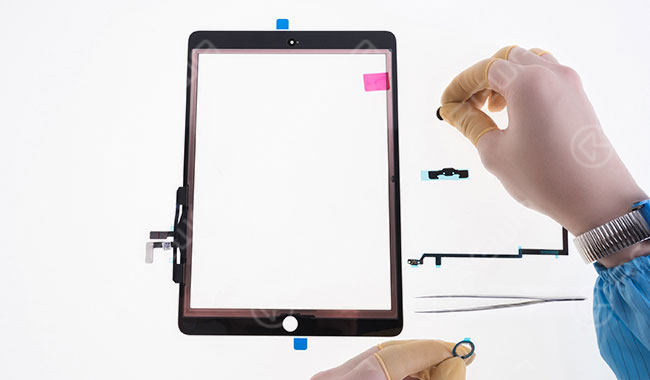
Parts contained: Home Button; Home Button Gasket (soft); Home button Metal Bracket; Home Button Gasket (hard); Home Button Flex Cable Step 1 Tear off the front self-adhesive sticker of the soft home button gasket, paste the home button to it and then tear off the rear self-adhesive sticker. Then align them to the home button hole of the iPad touch screen digitizer assembly.
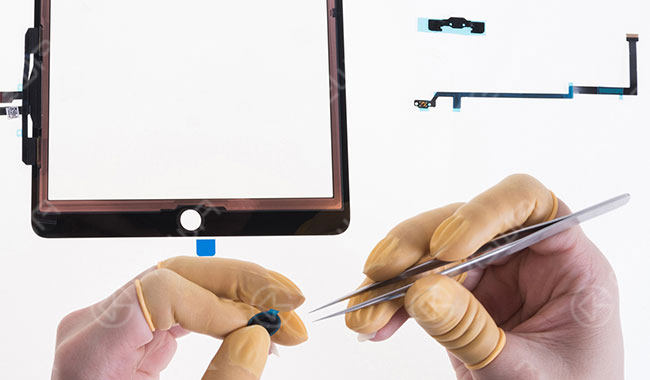
Step 2 Tear off the self-adhesive sticker of the hard home button gasket and paste it to the home button hole of the iPad touch screen digitizer assembly.
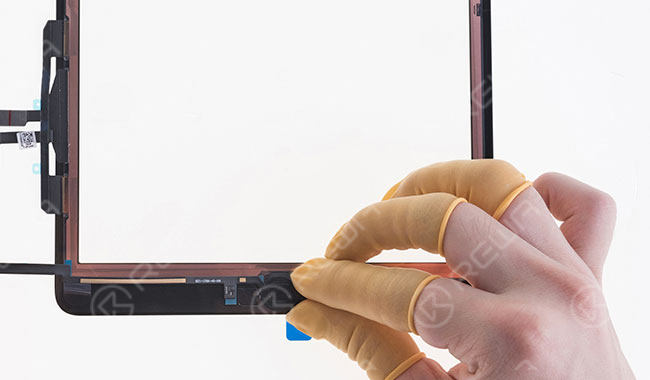
Step 3 Tear off the self-adhesive sticker of the home button metal bracket and align it to the home button flex cable. Then adhere the two to the right place of the iPad touch screen digitizer assembly.
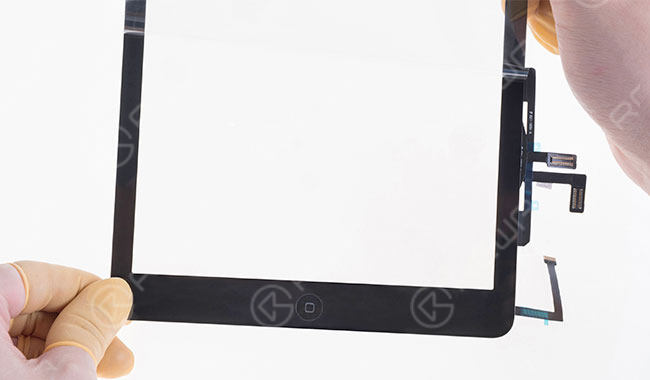
Step 4 Once finished, check the assembling effect.
iPad mini
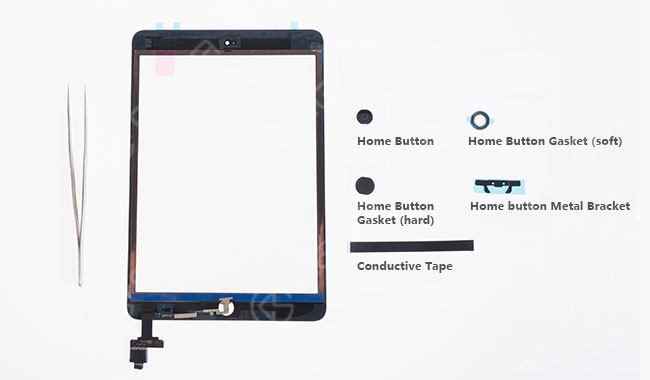
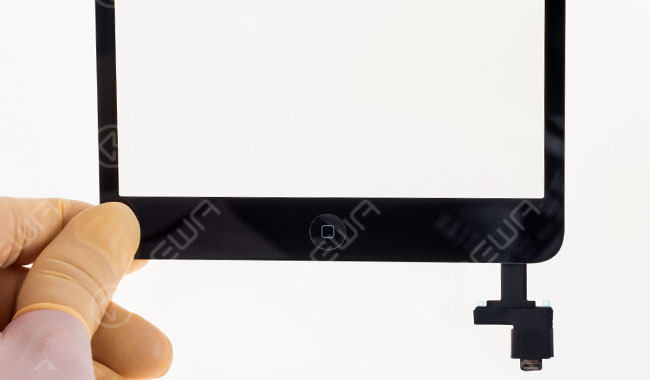
Parts contained: Home Button; Home Button Gasket (soft); Home Button Gasket (hard); Home button Metal Bracket; Conductive Tape Step 1 Tear off the front self-adhesive sticker of the soft home button gasket, paste the home button to it and then tear off the rear self-adhesive sticker. Then align them to the home button hole of the iPad touch screen digitizer assembly.
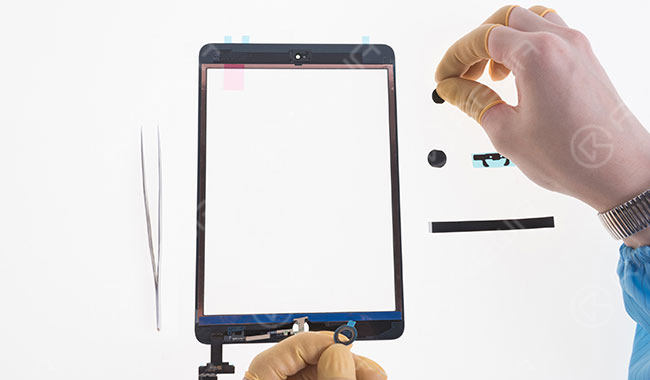
Step 2 Tear off the self-adhesive sticker of the hard home button gasket and paste it to the home button hole of the iPad touch screen digitizer assembly.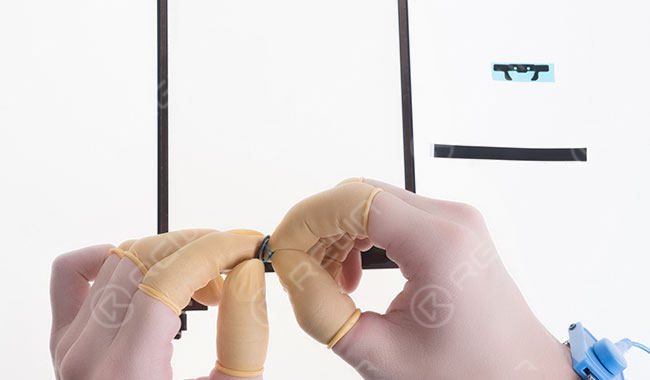
Step 3 Tear off the self-adhesive sticker of the home button metal bracket and align it to the right place. Then seal with the conductive tape.
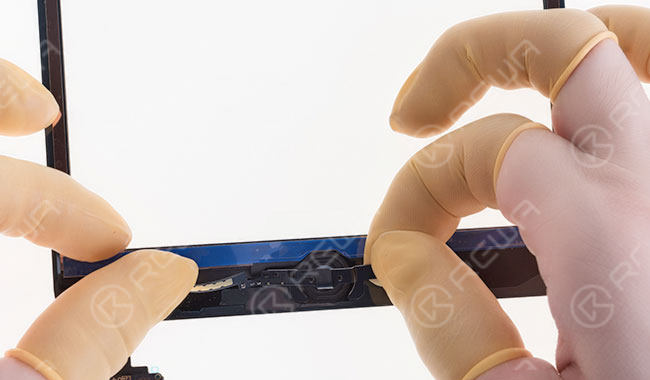
Step 4 Once finished, check the assembling effect.
0
0


No Comments

0
0
Share

Apr 23, 2021
ABOUT REWA
REWA is a world leading electronics repair business solutions provider who was founded in 2008 in HongKong. We are committed to delivering one-stop services covering Sourcing Solution, Technical Support Solution as well as Recycle & Resell Solution.


 Sign In

 Shop
Shop

 Academy


