
 Sign In

 Shop
Shop

 Academy
iPhone 11 Pro Max Screen Refurbishing - Detailed Operation
For iPhone X and later iPhone models, the bracket covering the bottom flex cable bonding area is adhered by cold adhesive. The traditional method with heating assistance when removing bezel might damage the screen. After several attempts, REWA LAB found that the new method with cold assistance can improve the success rate and efficiency of screen refurbishing. Check our blog today for detailed operation process of iPhone 11 Pro Max screen refurbishing. 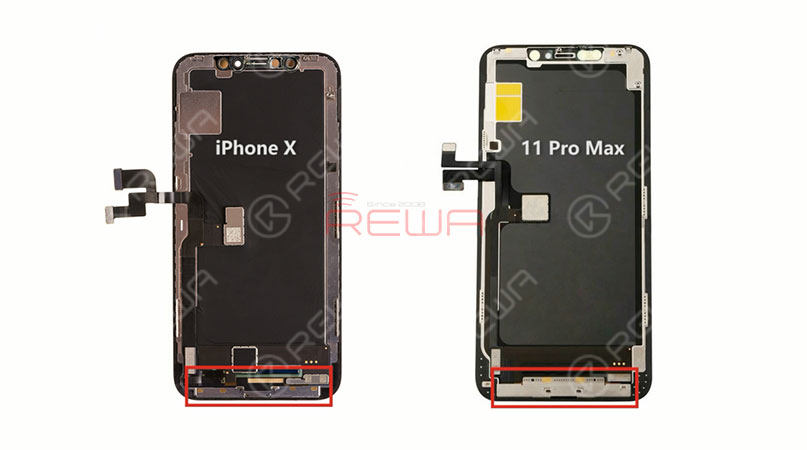
The screen structure of iPhone 11 Pro Max is the same as that of iPhone X series. Therefore, the screen refurbishing process is also similar. Different from iPhone X series, the bracket covering the bottom flex cable bonding area of iPhone 11 Pro Max is relatively wide, which increases the difficulty of screen refurbishing. Therefore, we need to be extremely careful when removing the bezel.
iPhone 11 Pro Max Screen Refurbishing
Step 1 Screen Testing
The first thing we do is to test the screen. Test the display, touch functionality and Haptic Touch of the screen. All going well. 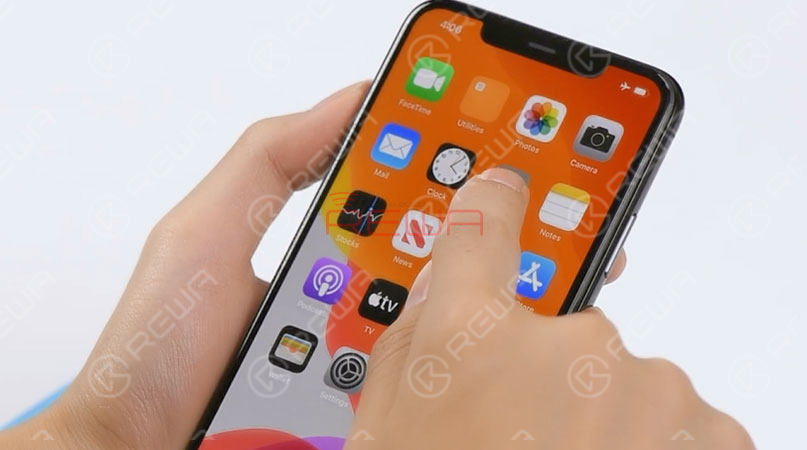
Please be noted that when testing iPhone 11 Pro Max’s screen, the default brightness of the screen is set at the lowest level. To adjust brightness of the screen during the testing, we need to get the front panel sensor assembly flex cable connected. Disconnect the front panel sensor assembly flex cable and remove the OLED screen assembly. Then remove the front panel sensor assembly flex cable. 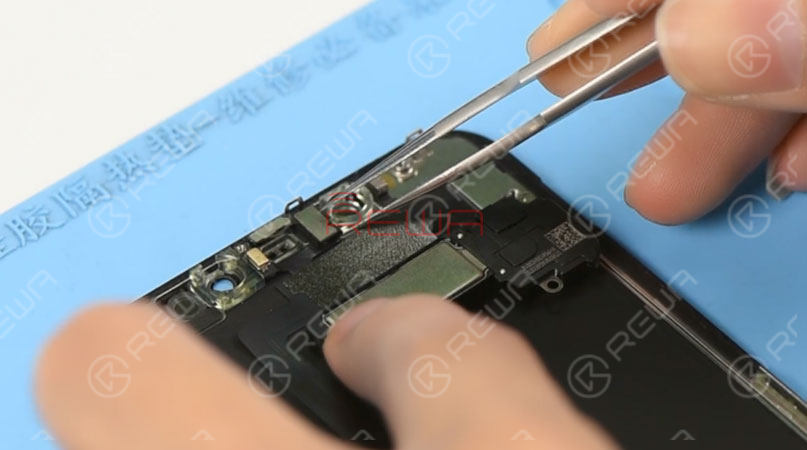
Tips: it is not easy to remove the front panel sensor assembly flex cable, which can be easily damaged during the operation. And the damage can also affect the function of Face ID. So we need to be extremely careful when operating
Step 2 Bezel Removing
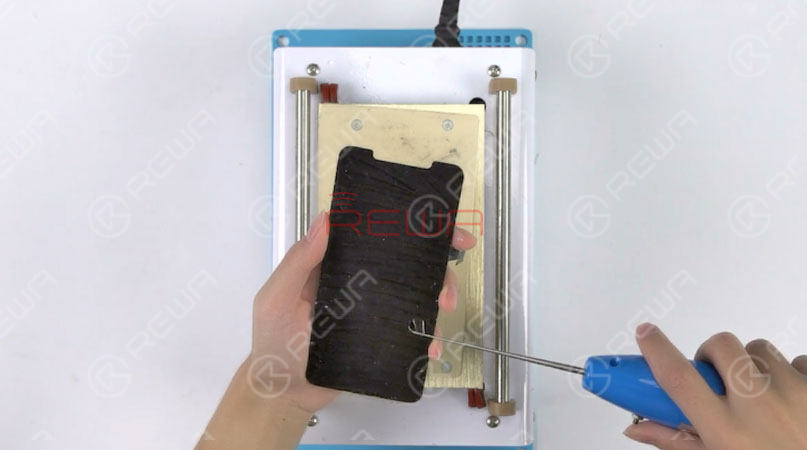
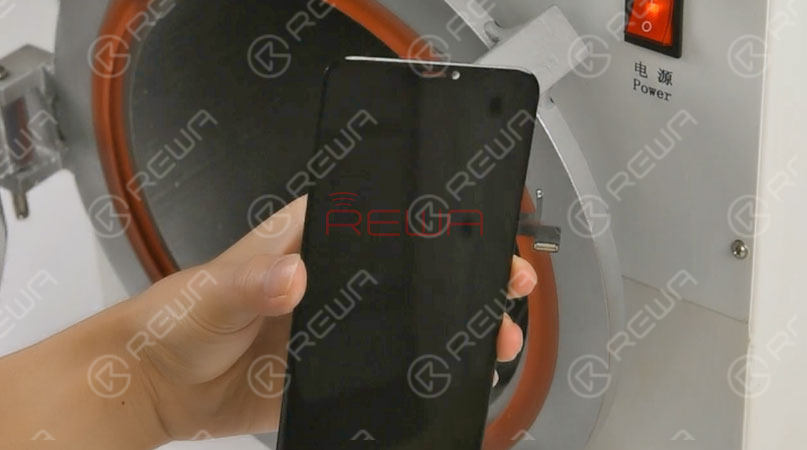
Place the OLED screen assembly upside down into the -180℃ Frozen LCD Screen Separator. Insert a 0.06mm metal pry piece under the bracket covering the bottom flex cable bonding area. Slide back and forth to slice through the cold adhesive here. Once done, connect the screen and test. All going well. 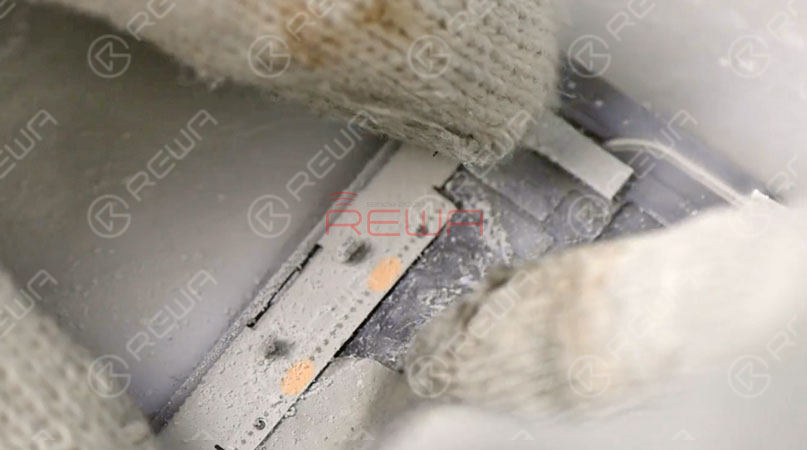
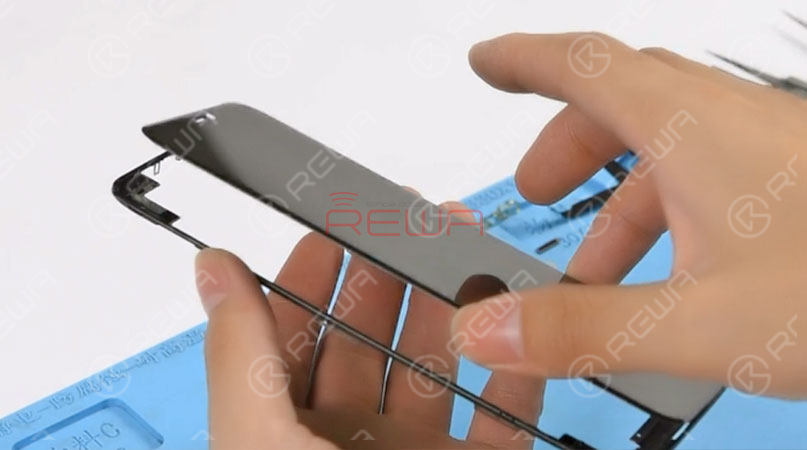
Tips: since the front panel sensor assembly flex cable is not connected, the default brightness of the screen is set at the lowest level. Set temperature of the Heat Platform at 100℃. Then put the OLED Screen Assembly on the preheated platform. Press the ‘Start’ button to suck the screen. 1 minute later, remove the front camera and sensor holder. Cut out the top bracket with the Cutting Nipper. Then separate the bezel from the OLED with the Cutting Nipper. 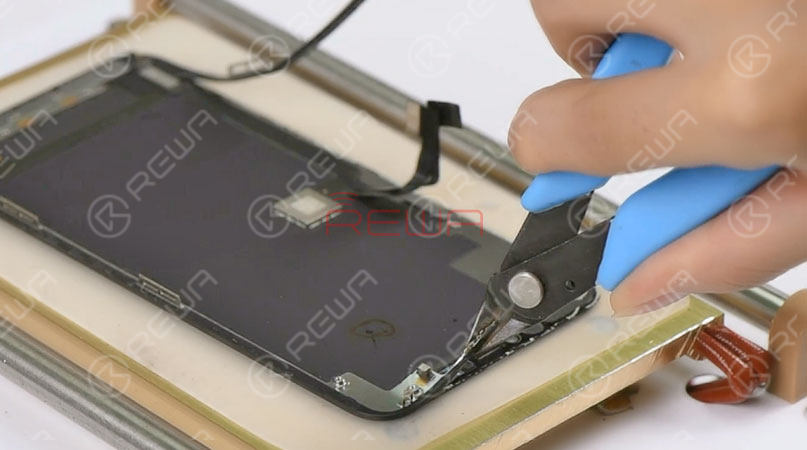
Tips: when detaching the bezel at the bottom area of the phone, we need to insert the metal pry piece under the bracket covering the bottom flex cable bonding area and slide back and forth. This is to confirm that the cold adhesive here has been sliced open. The bezel has been removed completely. As you can see, the area here is adhered by cold adhesive in large amounts. To protect the OLED from damage, we'd better freeze the screen during the operation. 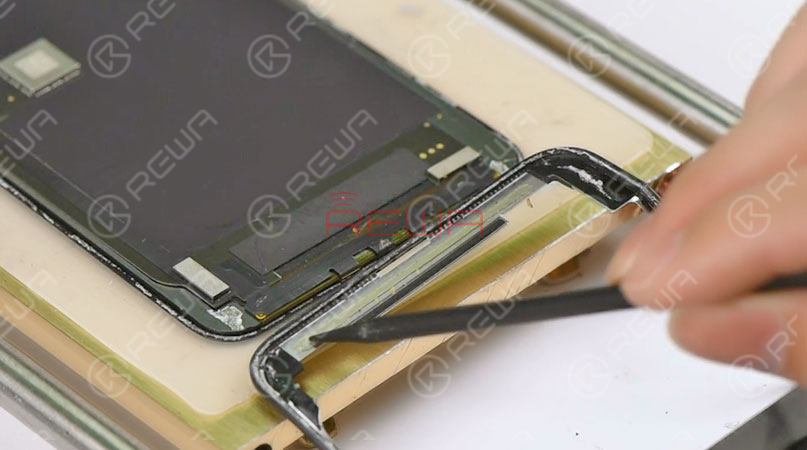
Again, let’s test the OLED Screen Assembly. All going well.
Step 3 Glass Lens Separating
Now, let’s move to the glass lens separating process.

Place the OLED Screen Assembly upside down on the Heat Platform. Remove residual glue on the earpiece speaker area with a blade. So that the Touch Panel will not be damaged when operating with the Cutting Wire. Next, separate the glass lens from OLED with Cutting Wire. Test again after separating. All going well.
Step 4 OCA Glue Removing
Let’s continue with OCA glue removing.
Put the OLED screen upside down on the Heat Platform for 3 minutes. Make an incision with the Electric Glue Removing Device. Then continue to tear off the OCA Glue with one hand. Also, be careful with force applied. This is to avoid damaging the OLED screen. Once done, test the OLED Screen. All going well.
Step 5 Laminating
Tear off the protective film on the backside of the glass lens and attach the OCA to the right position of the glass lens. Then put the OCA attached glass lens into the bubble removing machine for 5 minutes. Once finished, take out the OCA attached glass lens. 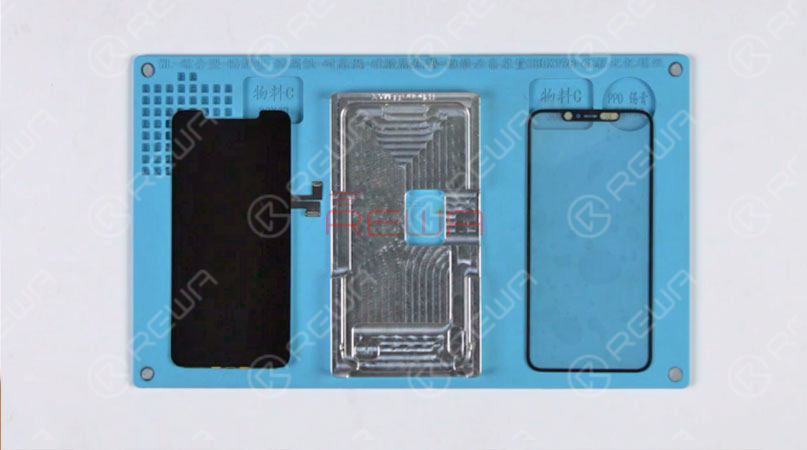
Now we need to laminate the OCA attached glass lens to the OLED Screen. Place the OLED screen into the OLED aligning mold. Clean the screen with the lint-free wiper. Tear off another layer of the OCA protective film and attach the OCA attached glass lens to the right position of the screen. Press gently to fit the glass lens with the screen. Place the mold upside down and take out the OLED Screen Assembly. Tear off the protective film on the glass lens. Cover the backside of the OLED Screen Assembly with a laminating sponge and then place the OLED Screen Assembly into the laminating machine. Choose ‘start’ on the LED panel. The machine starts to work. Laminating finished after several minutes. Again, let’s test the OLED Screen Assembly. All going well.
Step 6 Bubble Removing
Put the OLED Screen Assembly into Bubble Removing Machine for 10 minutes. Once finished, take out the OLED Screen Assembly.
Step 7 Bezel Attaching
Prepare a new piece of iPhone 11 Pro Max bezel. Tear off the protective film on the bezel. Apply the specialized glue to the bezel. Then apply pressure to fit the OLED Screen Assembly with the bezel.
Please be noted the FPC area on the bottom is very fragile. Be careful when operating. Otherwise, you might damage the OLED screen. 
Cover the backside of the OLED Screen Assembly with a laminating sponge. Then place the OLED Screen Assembly into the bezel laminating mold and fix it. Tighten the screw and wait for 10 minutes. Take out the OLED Screen Assembly afterwards.
Step 8 Screen Testing
Get the front camera and sensor holder installed, and then the earpiece speaker mesh. Get the front panel sensor assembly flex cable and the OLED Screen Assembly installed. Run function test - Display; Touch; Haptic Touch. Display, Touch, and Haptic Touch work normally. 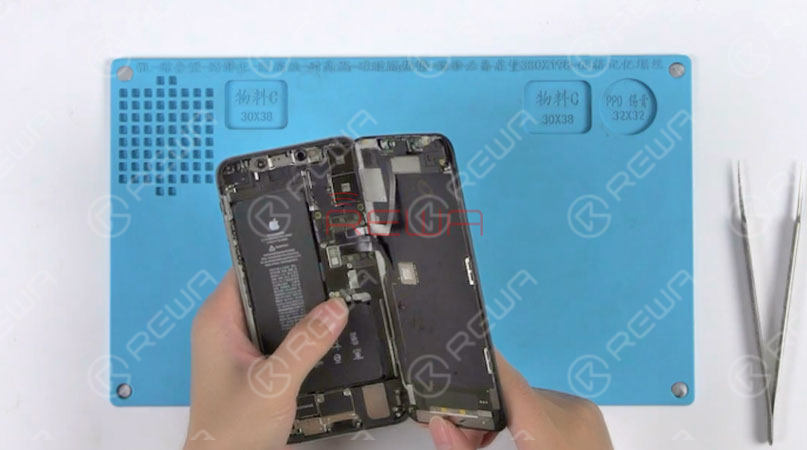
iPhone 11 Pro Max screen refurbishing has been completed perfectly.
Tools & Parts
LCD Cutting Wire
Refurbishing Machines
Hot Air Gun Rework Station
Straight Tweezers
Integrated Mobile Phone Repair Platform
Bubble Removing Machine
You can also visit REWA Youtube Channel to check our video of iPhone 11 pro max refurbishing.
RELATED POST:
iPhone 11 Pro Teardown – REWA Exclusive Repair Tips
How To Turn An iPhone 11 Pro Into An iPhone 11 Pro Max
iPhone XS/XS Max Broken Screen Glass Only Repair


No Comments
0
0
Share
Apr 23, 2021
ABOUT REWA
REWA is a world leading electronics repair business solutions provider who was founded in 2008 in HongKong. We are committed to delivering one-stop services covering Sourcing Solution, Technical Support Solution as well as Recycle & Resell Solution.


