
 Sign In

 Shop
Shop

 Academy
Tips & Tricks For iPhone Screen/Battery Replacement
No matter you are a repair shop owner or a customer of a mobile phone, there’s more than one reason you might need to replace the screen or the battery. Screen/battery replacement is an essential business for repair shops. Professional replacing techniques can not only reduce the failure rate of screen/battery replacement and save time, but also highlight the professional image of the repair shop and gain favorable feedback from customers. In this article, we take iPhone X as an example to show you tips and tricks for screen/battery replacement of iPhone X/XS/XS Max. Follow our steps and power your repair shop now.
Finding the Right Tools, Screen, Battery, and Instructions
Once you’re ready to replace the screen or the battery, research the recommended tools and battery options for each phone individually, as they're all slightly unique. REWA is dedicated to providing products and services for business clients(repair shops, refurbishing factories, etc.) and data recovery services for individual clients. As for other repair demands of individual clients, repair shops nearby would be a good choice for you.
What Will You Need to Replace The Screen/Battery of Your iPhone X
New iPhone X Screen
New iPhone X Battery
New iPhone X Battery Adhesive Strips
Hot Air Gun
Anti-static Wrist Strap - protect components from accidental ESD damage
Tri-point Screwdriver
Pentagon Screwdriver
iPhone Screen Replacement Steps Overview
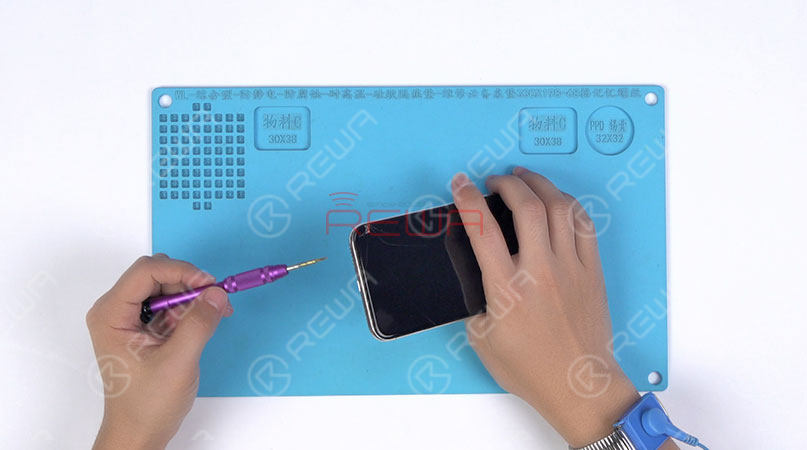
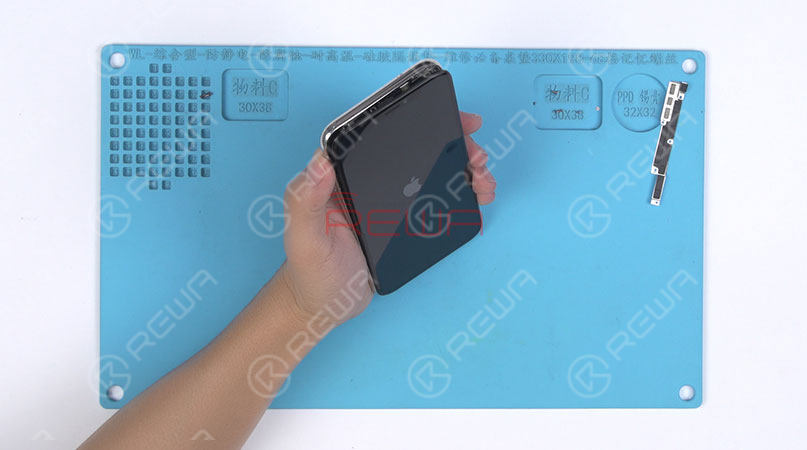
1.Pentalobe Screws Removing and Hot Air Gun Heating
Remove the two pentalobe screws with the pentagon screwdriver at the bottom edge of the phone. Since there are waterproof seals between the screen and the back glass assembly, you need to heat and soften up the waterproof seals with the hot air gun at 120℃-150℃ for 1 minute.
2. Open The Screen
Press the suction cup firmly onto the screen, and insert the pry piece to slice through the adhesive holding the screen. Note: Do not swing the screen up from the bottom side. As the flex cables of iPhone x are mainly arranged on the right side, to avoid tearing off these cables, we need to open the phone by swinging the screen up from the left side.
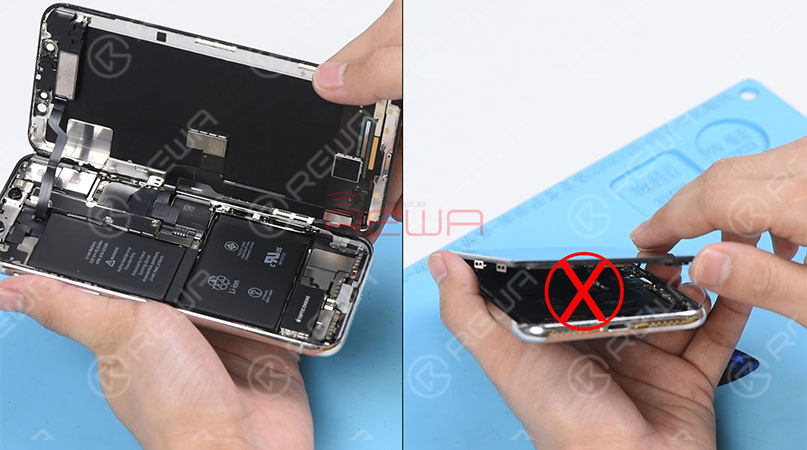
♥Tips: Please be careful with the force applied when replacing the screen. Otherwise, the phone might be stuck in touch/display issues. Because the bottom area of the screen(with ICs bonded here) and the Face ID area are fragile.
RELATED POST: How To Fix iPhone X Face ID Not WorkingWhy Face ID Can Be So Easily Damaged And Hardly Repair
3.Connector Bracket And Screen Removing(Watch the video to get details - at the ending of the article)
Remove screws securing the connector bracket with the tri-point screwdriver
Pry the battery connector up from its socket
Disconnect the OLED panel cable connector
Pry the digitizer cable connector up from its socket And then disconnect the front panel sensor assembly flex cable 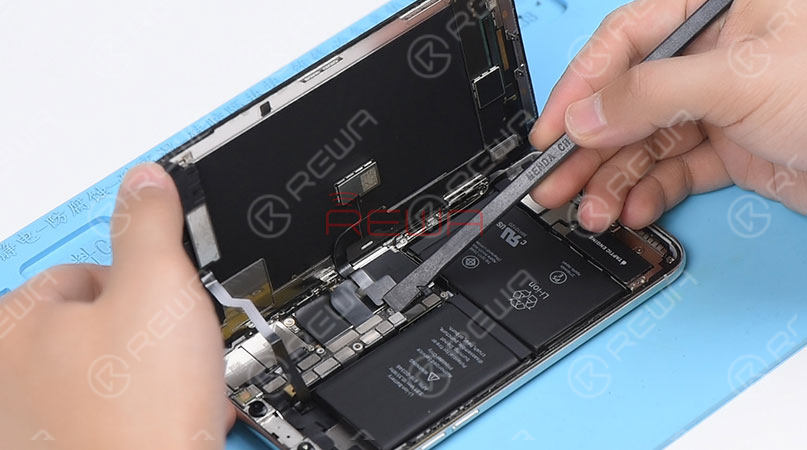
♥Tips: The front panel sensor assembly flex cable is secured by the double-sided tape. Please lift the cable carefully when removing the screen.
4. Earpiece Speaker And Sensor Assembly Removing & Installation
Remove screws securing the front panel sensor assembly flex cable with the tri-point screwdriver. Heat with the Hot Air Gun at 120℃-150℃ first to soften the adhesive, then remove the front panel sensor assembly flex cable with tweezers. 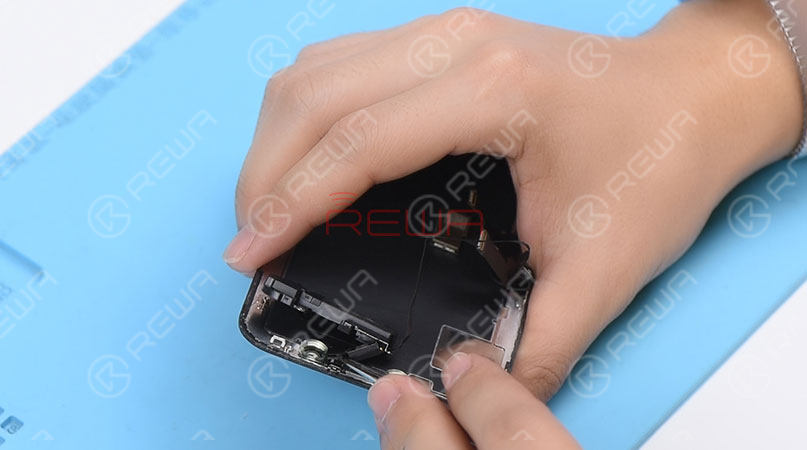
♥Tips: there is double-sided tape securing the Flood Illuminator Module area.
Get the earpiece speaker and sensor assembly installed onto the new screen
Get the front panel sensor assembly flex cable, the digitizer cable connector the OLED panel cable connector and the battery connector connected
5.Phone Assembling
Please test the screen before the reassembly process.
♥Tips: the waterproof seals might get damaged when replacing the screen. If so, clean the residual waterproof seals at first, then stick new waterproof seals.
The true tone-capable display of iPhone 7 - XS Max is missing after screen replacement. So we highly suggest that repair shops restore the true tone with the True Tone Programmer after screen replacement.
iPhone X/XS/XS Max Screen Replacement Tips & Tricks
1. Wear Anti-static Wrist Strap 2. Power off the phone before the disassembly 3. Pre-heat with hot air gun 4. Open the phone by swinging the screen up from the left side 5. Pay attention to the bottom area of the screen (ICs Bonding Area) 6. Pay attention to the top area of the screen(Face ID area) 7. Disconnect the battery flex cable first 8. Pre-heat before removing earpiece speaker and sensor assembly 9. Test the screen before the reassembly process
iPhone Battery Replacement Steps Overview
♥Tips: To remove the battery adhesive strips easily, please remove the Taptic Engine and speaker at first.
1.Taptic Engine And Speaker Removing
Please be noted that there are many screws detached in this step, we highly suggest that you place these screws in order. 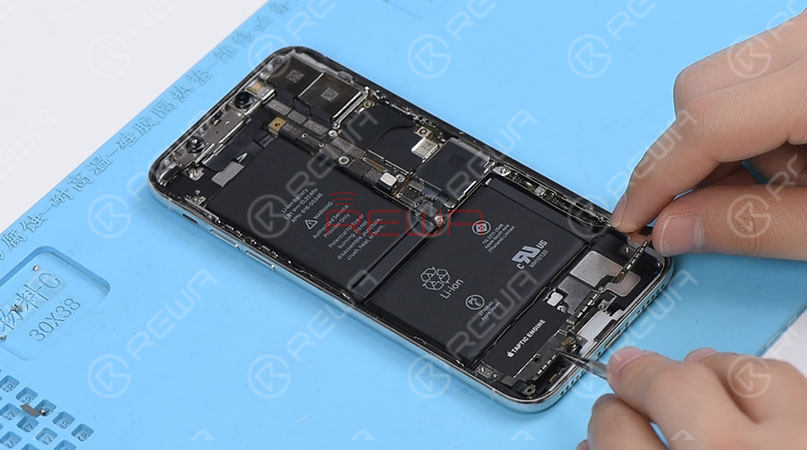
2.Battery Adhesive Strips Removing
Wrap the battery adhesive strips with tweezers and pull the strips out slowly and parallelly. 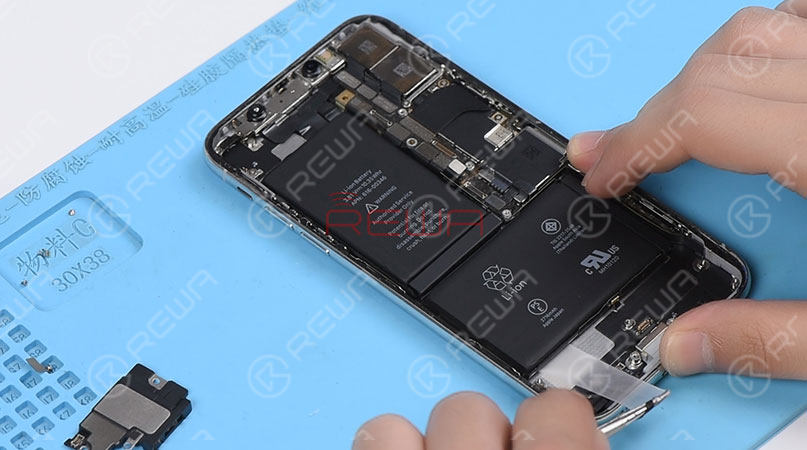
3.Battery Adhesive Strips & Battery Adhering
Adhere new battery adhesive strips to the battery.
5.Taptic Engine And Speaker Installation
iPhone X/XS/XS Max Battery Replacement Tips & Tricks
1. Taptic Engine and speaker removing first 2. Place screws in order 3. Pull the strips out slowly and parallelly.
Conclusion
In addition to professional techniques, high-quality and reliable third-party suppliers are also extremely important for repair shops. Choose REWA, choose the quality you want. For individual clients and repair enthusiasts, REWA online shop with iPhone screens of different quality grade and replacement batteries are here for your choice. Why hesitating? Place your order now! For certified iPhone Screens, replacement batteries and repair tools, please place an order on REWA ONLINE SHOP. FURTHER READING:
Tips and Tricks for LCD Refurbishing
Tips for iPhone 6s 6s Plus Screen Replacement
6 Tips To Increase Your iPhone Security
Tips For iPhone 7 No Service Issue Troubleshooting
Tips for Troubleshooting All The iTunes Error Codes of iPhone 6/ 6 Plus


No Comments
0
0
Share
Apr 23, 2021
ABOUT REWA
REWA is a world leading electronics repair business solutions provider who was founded in 2008 in HongKong. We are committed to delivering one-stop services covering Sourcing Solution, Technical Support Solution as well as Recycle & Resell Solution.


