
 Sign In

 Shop
Shop

 Academy
Tips And Tricks For Samsung Phone Repair
Today REWA LAB will share tips and tricks for Samsung phone repair by demonstrating basic steps for Samsung S8 repair. When repairing Samsung series, we need to pay special attention to similarities in different Samsung series and choose the right tools to improve repair efficiency.Please be noted that these repair techniques can also be applied to complex repair needs, such as broken back cover refurbishing, screen replacement, battery replacement, etc..
Part 1 Function Test
Before repairing, we can test Samsung phones by using secret codes. This can help us narrow down the fault possibility: software problem or hardware problem.
Turn on the phone and enter the dial pad. Different secret codes can perform different tests.
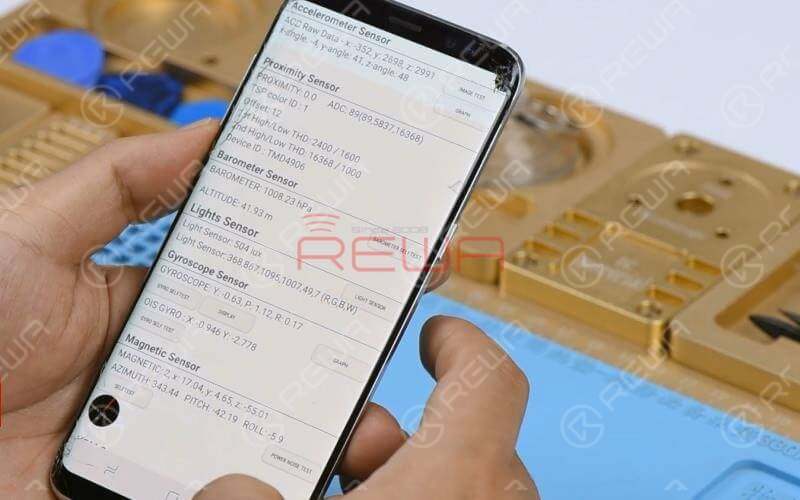
*#0*#: test MEGA CAM, SENSOR, TOUCH, etc..
*#7353#: test Light Sensor, Bluetooth, Proximity Sensor, etc..
*#0283#: for loopback test
*#1234#: check software and firmware version of the phone
Part 2 Flashing The Stock Firmware Of Samsung S8
Most system or software problems can be solved by flashing the stock firmware and therefore it is a must have skill for repair technicians. Follow our tutorial and see how we flash the stock firmware of Samsung S8.Power off the phone. Hold Power + Volume Down + Bixby until it launches into a warning screen. Press the Volume up button to continue and we will be in download mode.
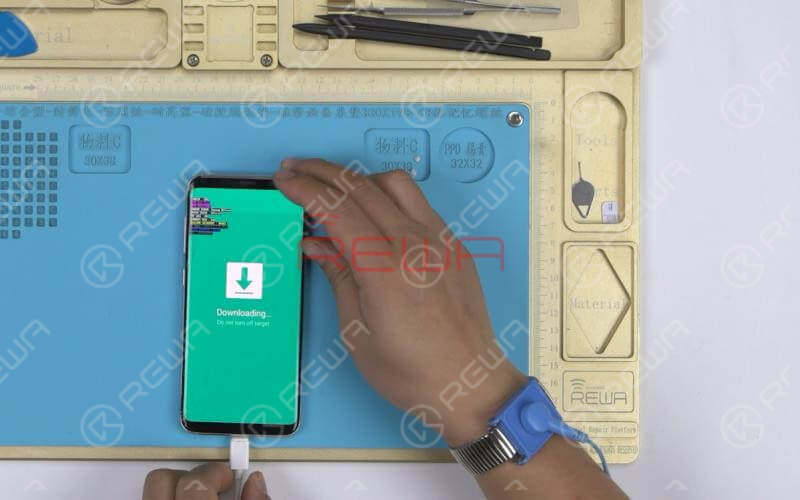
Open Odin on the computer. Connect the phone to the computer via USB cable. The ID: COM boxes turn blue, and we can also see a message ‘Added’ in the Log.Click on buttons and select the file that starts with the button name one by one. Click Start and wait for the process to complete.
Tips
If you failed to complete the stock firmware flashing process, just follow the error message and correct your mistakes in the previous process.
Part 3 Samsung S8 Teardown
Once we have confirmed that it is a hardware problem, we need to take apart the phone for further analyzing.The teardown process of Samsung phones varies from series to series. For Samsung A series, we need to separate the screen from the mid-frame at the very beginning. While for Samsung S series and Note series, we need to separate the back cover from the mid-frame at first.Now we will take Samsung S8 as an example and walk you through teardown tricks for Samsung S series.
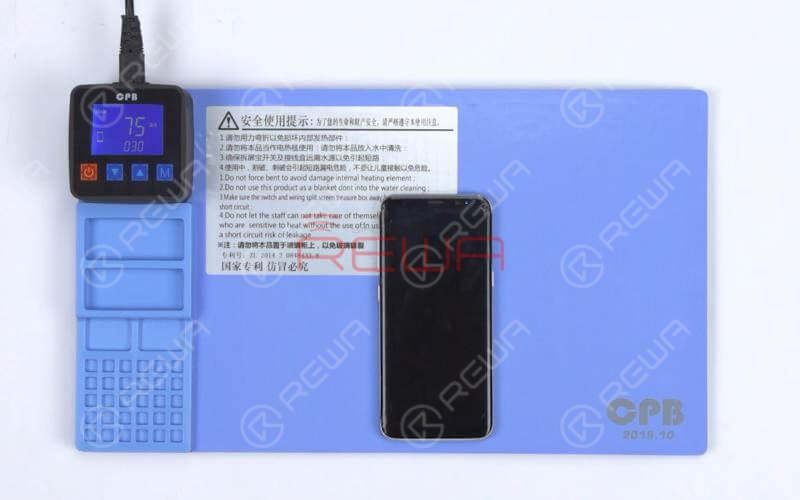
Tips: the Pre-heating Pad is a must for the teardown process.
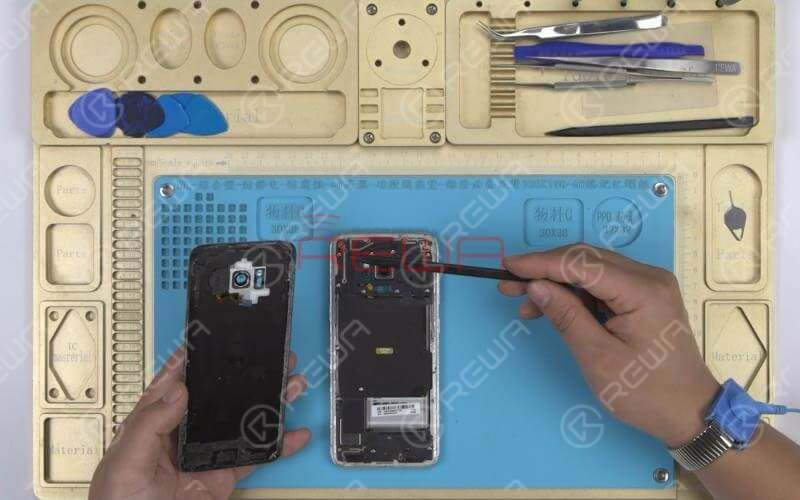
First we need to heat the back glass with the pre-heating pad. Then apply a suction cup to the back glass. Lift on the suction cup carefully. There should be a tiny gap between the back glass and the mid-frame. Insert a blade into the gap. Then insert the plastic pry piece into the gap.Slide back and forth along edges of the screen to slice through the adhesive holding the back glass in place. If the slicing becomes difficult, you can also apply some alcohol to the gap for smooth operation.
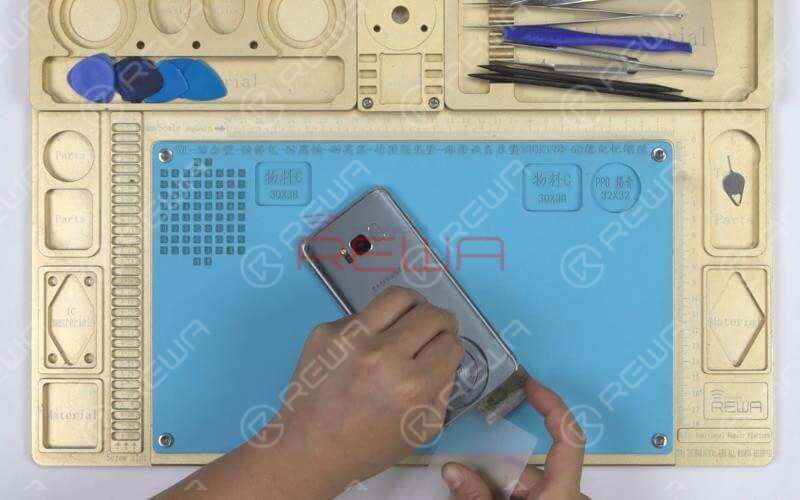
Tips: the plastic pry piece shouldn’t go too deep. You might damage the fingerprint sensor cable or the charging coil.To protect the fingerprint sensor cable, we need to open the phone carefully by swinging the back glass up from the side near the fingerprint sensor socket. Continue to disconnect the fingerprint sensor cable with the pry bar and remove the back glass.
Teardown Difficulties
We can see that the waterproof adhesive of Samsung S series and Note series are mainly applied on edges of the back cover and much more on top edges and bottom edges. So we need to heat evenly and control the heating temperature and time applied during the teardown.
Then remove the antenna/NFC coil assembly and the speaker/antenna array.We can see that the motherboard is connected to the daughterboard by FPC, which is commonly seen in Android phones. Let’s see what’s special about Samsung motherboards.
Motherboard

Compared with iPhone logic boards, Samsung motherboards feature relatively few components scattered across the board with high integration.
Most ICs on Samsung motherboards come with underfill.
Samsung motherboards are relatively thin and feature fast heat dissipation, adding to the difficulty of chip soldering and repairing.
Battery Replacement
Battery replacement of Samsung is also a step we should pay special attention to. Not like Apple, who equips iPhones with special designed battery adhesive strips for easy battery replacement, Samsung phones come with a different battery adhesive strip design.
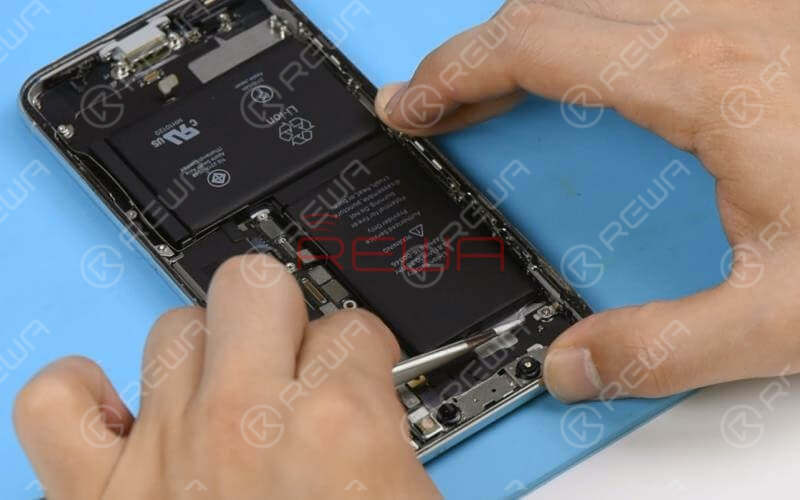
To remove the battery, we need to heat at the very beginning. During the heating, apply some alcohol to the gap to soften the adhesive. Then get a pry piece inserted into the gap and pry up the battery carefully from the bottom.REWA will launch Samsung phone repair courses(for Level 1 - Level 3) in 2020, which include Samsung phone disassembling/reassembling, unlock, data recovery and troubleshooting of other hardware issues. For more Samsung repair cases, please stay tuned to our YouTube channel.
You can also visit REWA social media platforms to share your repair thoughts with repair enthusiasts around the world.
For online cell phone repair training course, please go to REWA Academy to get, which is available now.
Tools & Parts Needed
Integrated Mobile Phone Repair Platform
Heating Pad Suction Cup Plastic Card Spudger
Phillips Screwdriver Steel Straight Tweezer
You can also visit REWA YouTube Channel to check our video for more detailed explanation.
Samsung Logic Board Repair/Broken Screen Refurbishment Cases:
Samsung S7 edge Won’t Turn on – Logic Board Solution
Samsung Galaxy S6 edge+ Turns On With Black Screen
Samsung Galaxy S8 Plus Not Charging
Samsung Galaxy S7 edge Glass Screen Repair Only


No Comments
0
0
Share
Apr 23, 2021
ABOUT REWA
REWA is a world leading electronics repair business solutions provider who was founded in 2008 in HongKong. We are committed to delivering one-stop services covering Sourcing Solution, Technical Support Solution as well as Recycle & Resell Solution.


